I’ve been using my Epson V750 flatbed scanner for at least 12 years now. It’s been a reliable workhorse. But, I’ll be honest, I’ve always had a love hate relationship with it! I gave up scanning 35mm negatives with it many years ago. It just wasn’t good enough for print output. But for 120 negatives it’s great and when it gets it right the scans are super sweet! Very acceptable for printing and I’ve produced 15×15 inch prints with ease.
The issue comes when it gets it wrong. Which, to be fair to the scanner, is more to do with the crappy film holders Epson supplies and any negative that has the slightest curl in it. The two are a match made in soft focus hell! The times I’ve thought my focusing is duff, only to check the negative on the light panel and find it sharp as a blade.
Epson V750 120 film holder – flimsy hinges broke a long time ago
Yep, if those negatives are not perfectly flat then the scan is too soft and no amount of software sharpening is going to make it look nice. I’ve tried different things – sticking the negatives between some heavy books. Scanning negatives upside down, back to front, any which way in the hope to find the spot. And of course, battling with the negatives to get them in the film holder, whilst pushing the bulging middle down, and clipping into place with the third hand I haven’t got, all the while wearing cotton gloves and swearing profusely, for it to then slip out and end up on the dusty floor.
Really, should it be that hard?
I considered trying the wet scan approach. You know the expensive mylar sheets and stinking fluid. But that just seemed like such a faff and really would it be worth it?
I then considered getting the Epson V850 120 holder which I heard would fit my scanner and has the diffuser sheet that helps hold the negative flat. But reviews commented on it still being flimsy and dust being a constant issue.
I also came close to getting one of those Better Scanning holders. But when it turned out that it could not be produced in time for my American Father-in-Law to bring it over on a visit I just thought forget it. So, I cancelled the order and resigned myself to the continued use of a broken film holder and if I ever had that masterpiece image I wanted to print the size of the living room, well, I’d just send it off to be professionally drum scanned.
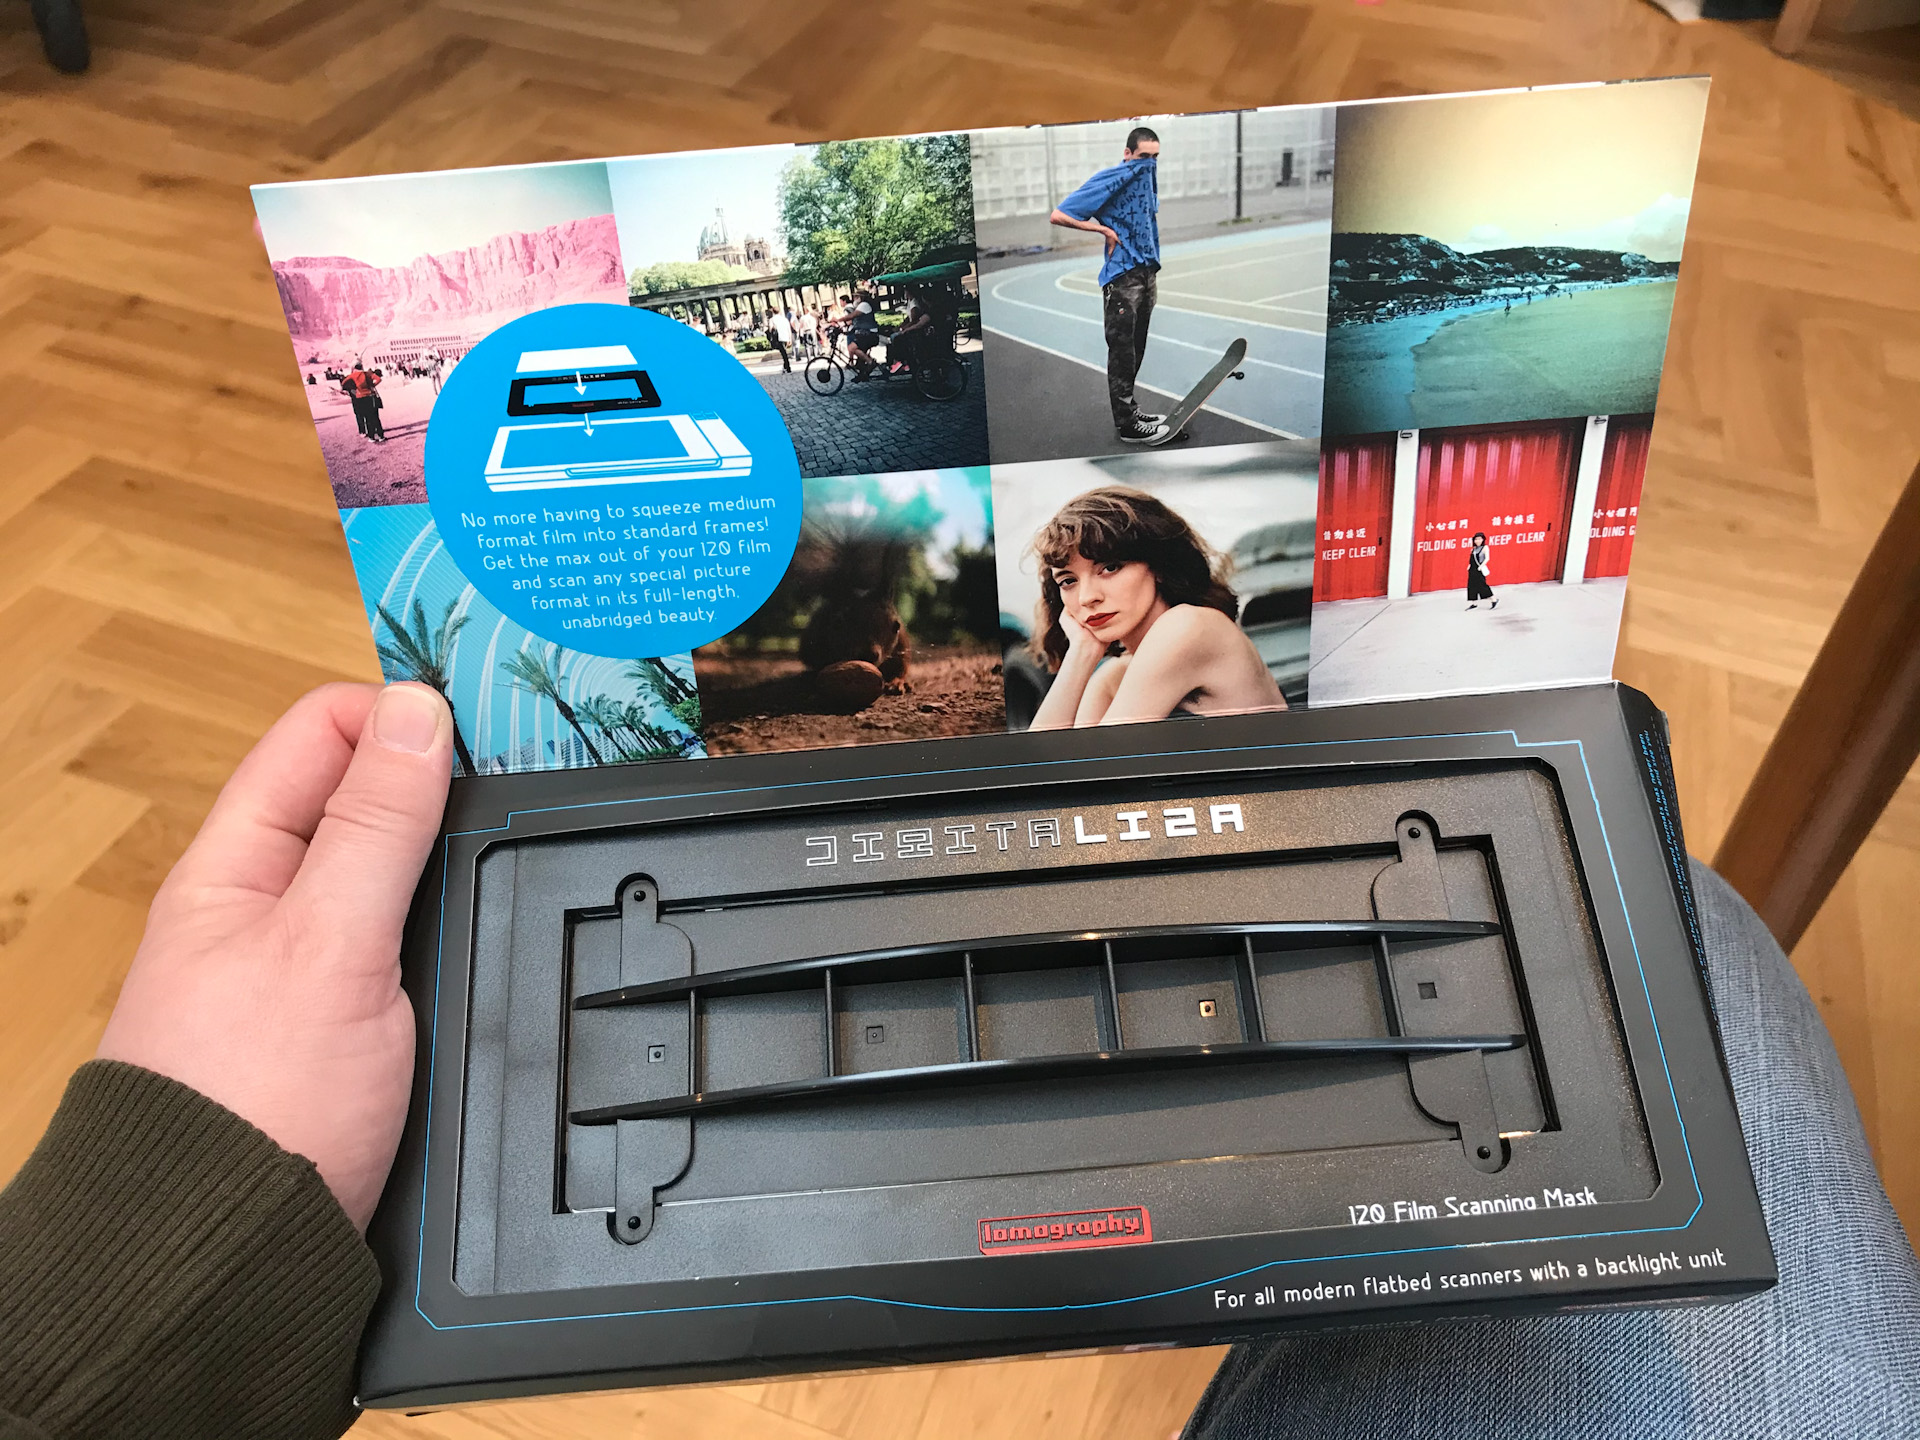
Along comes Lomography Digitaliza
Cut to the point! I was scrolling through Twitter one evening and saw a comment someone had mentioned about the Lomography Digitaliza. I had a little look online at the surprisingly limited information on flatbed users and this device and decided to use up some gift certificate money (from said mentioned Father-in-law) and ordered one.
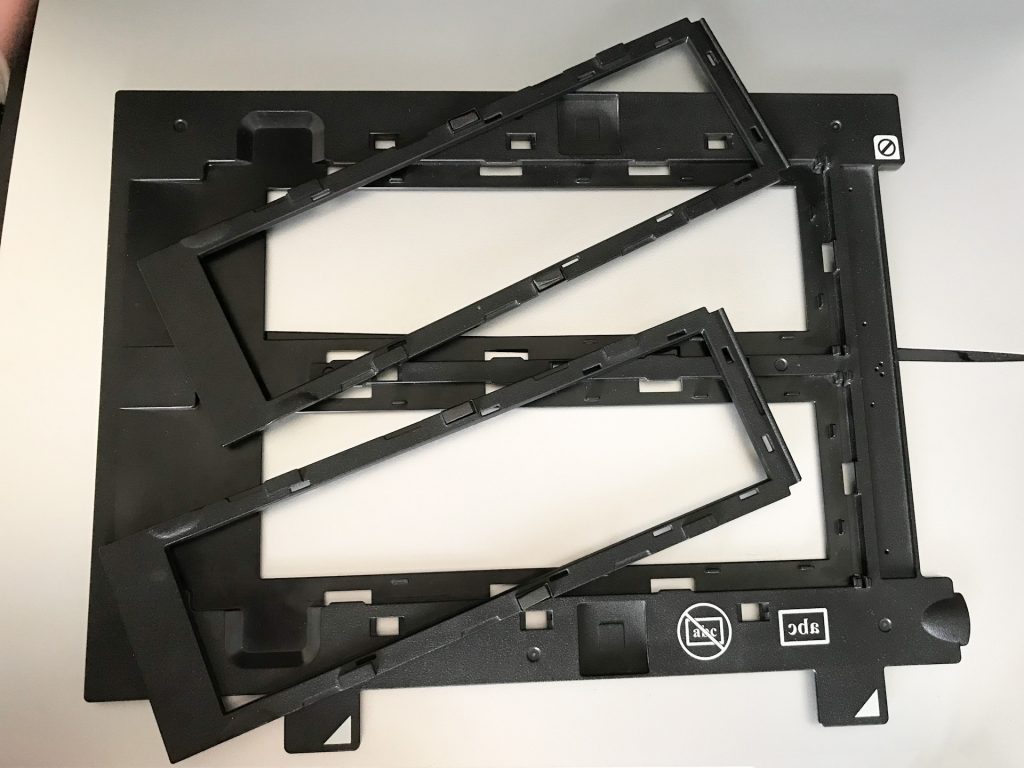
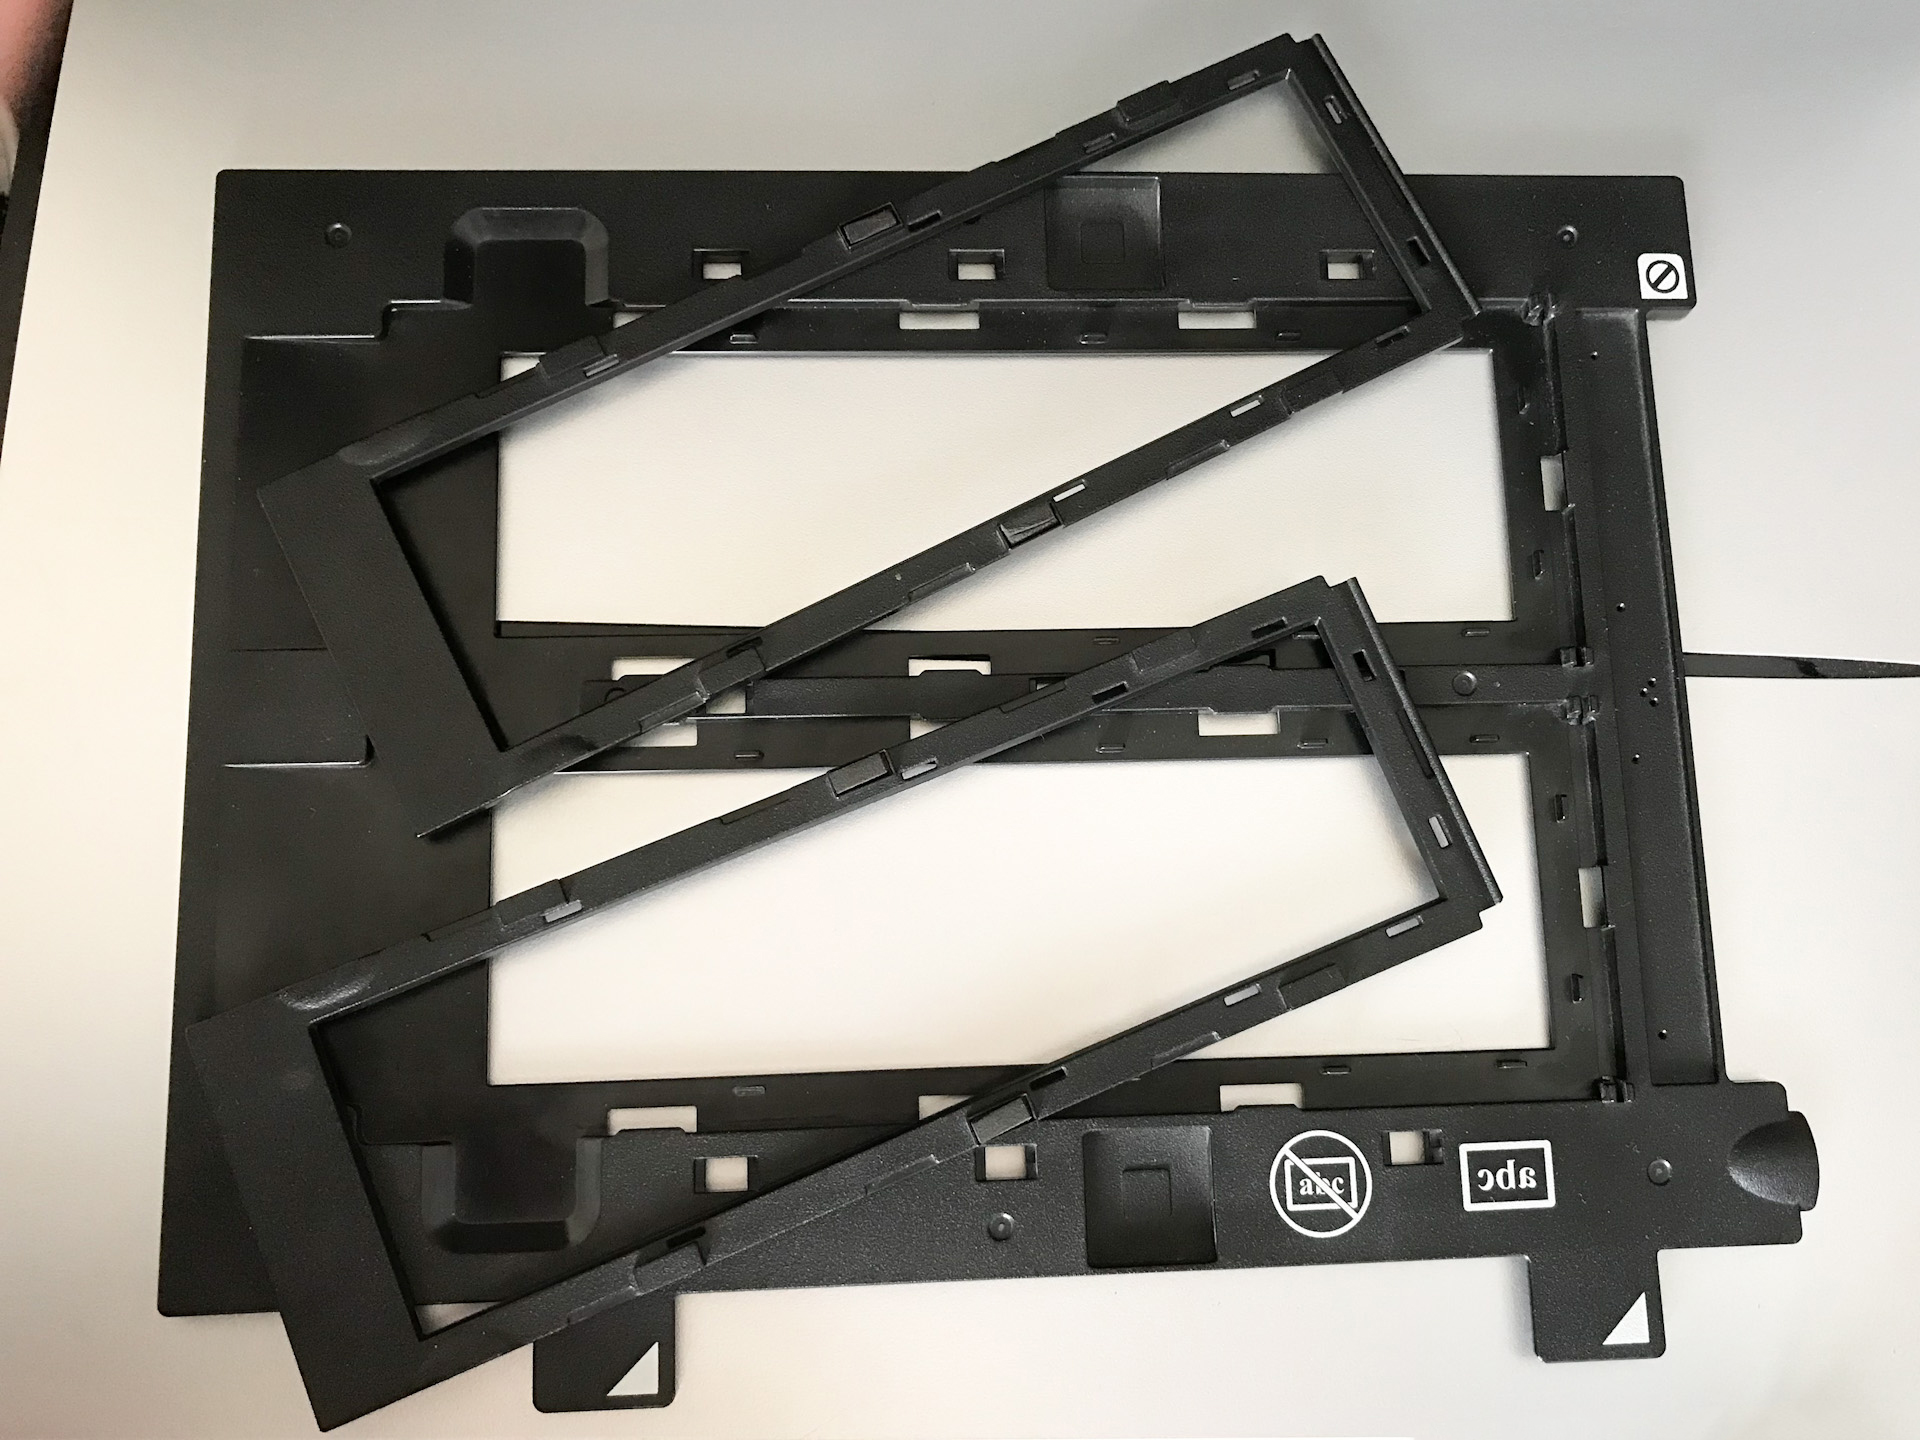
It arrived 10am the next day! By lunch time I was putting it to the test. First impressions backup what others had said. It is much better quality plastic than Epson holders. The design is genius with the magnets and the ‘plate’. It feels weighty, the hinges more substantial and I love how it now enables me to scan film edges, something the Epson film holder barely did, whilst still holding the negative in place and without any additional layer of glass sandwiched between the negative and the scanner.
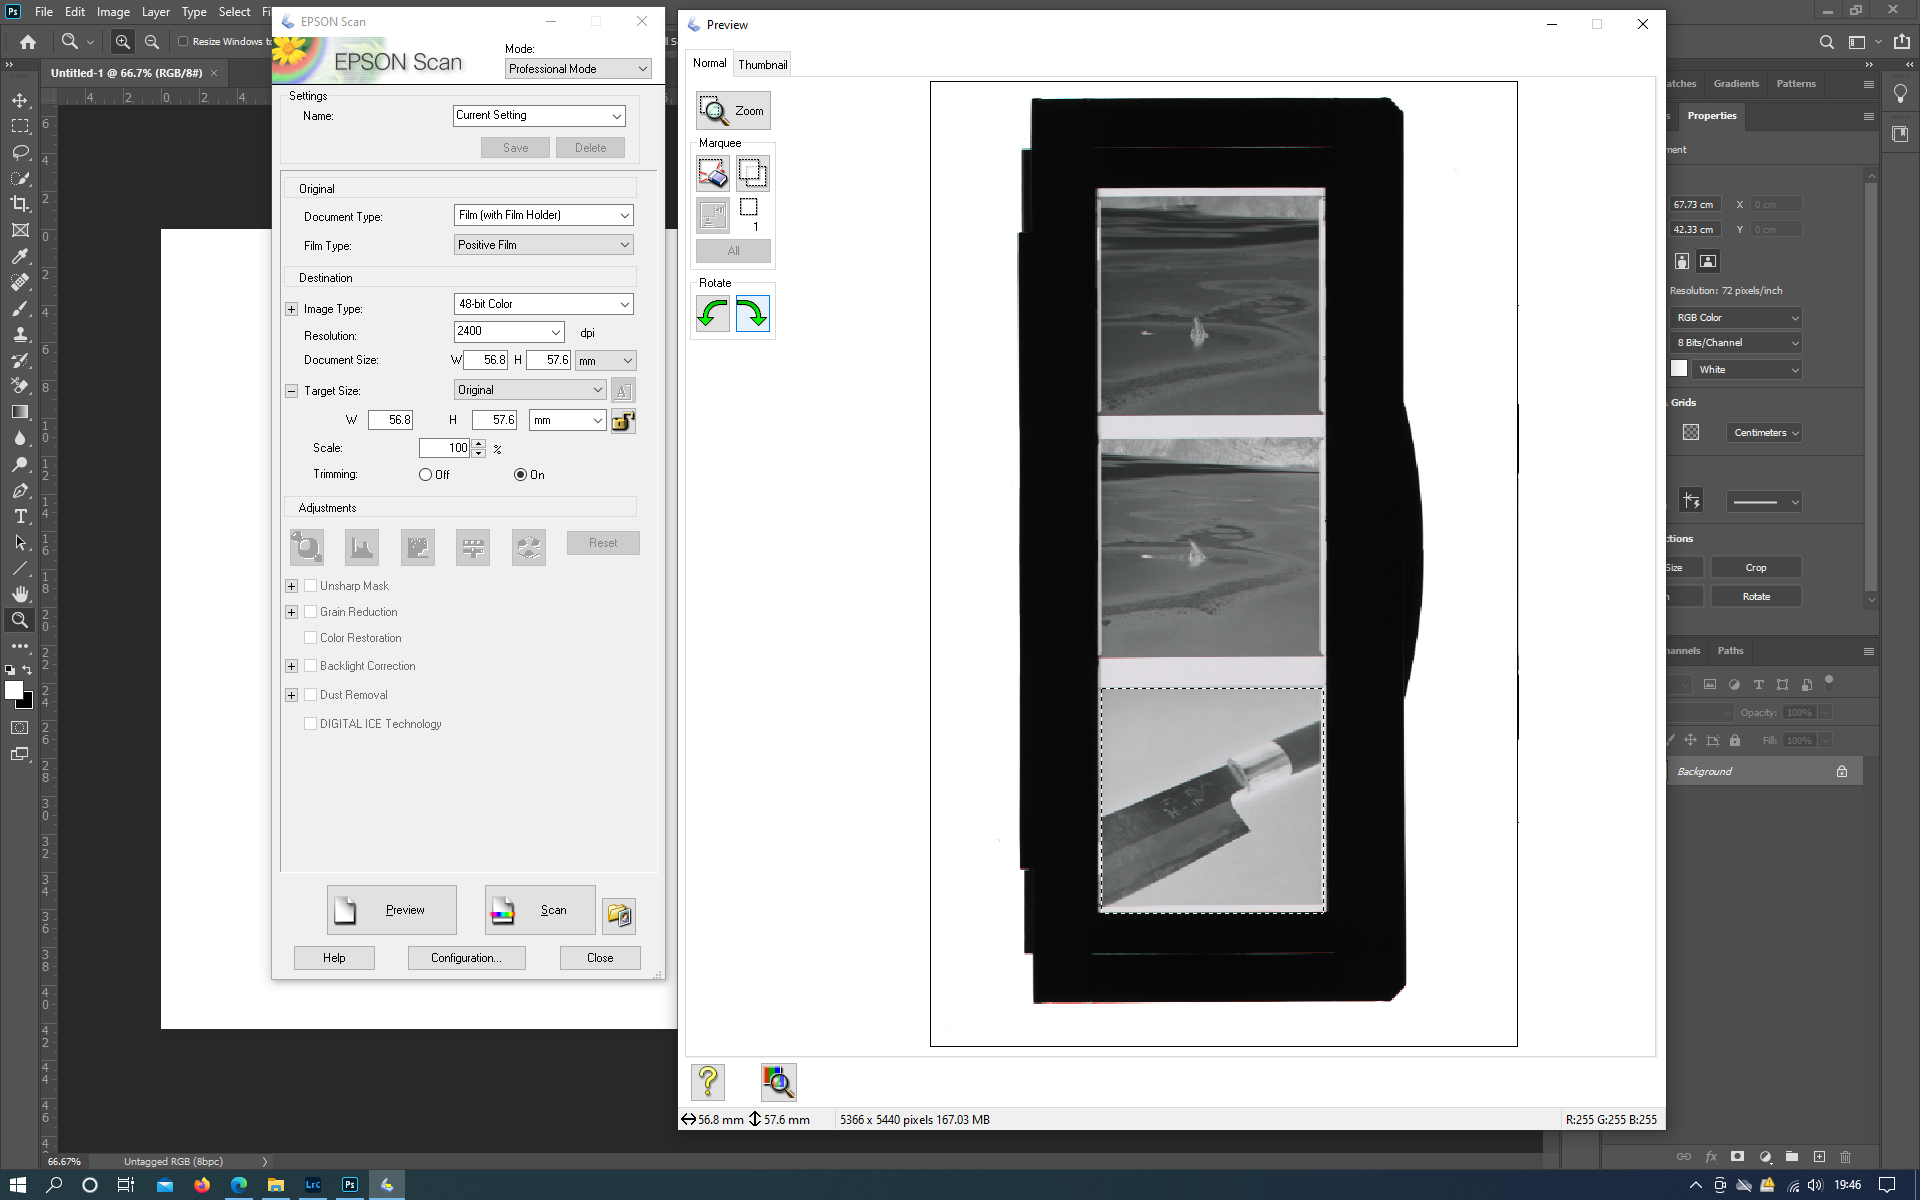
I selected a 120 strip and popped it in. It was super easy, no third hand needed here! Click the plate down, close the mask over and lift the plate back out, which then releases the metal plate underneath. Into the scanner, opened Epson scan and hit preview. The familiar whirl kicked in and I was excited… Then this! Eh?
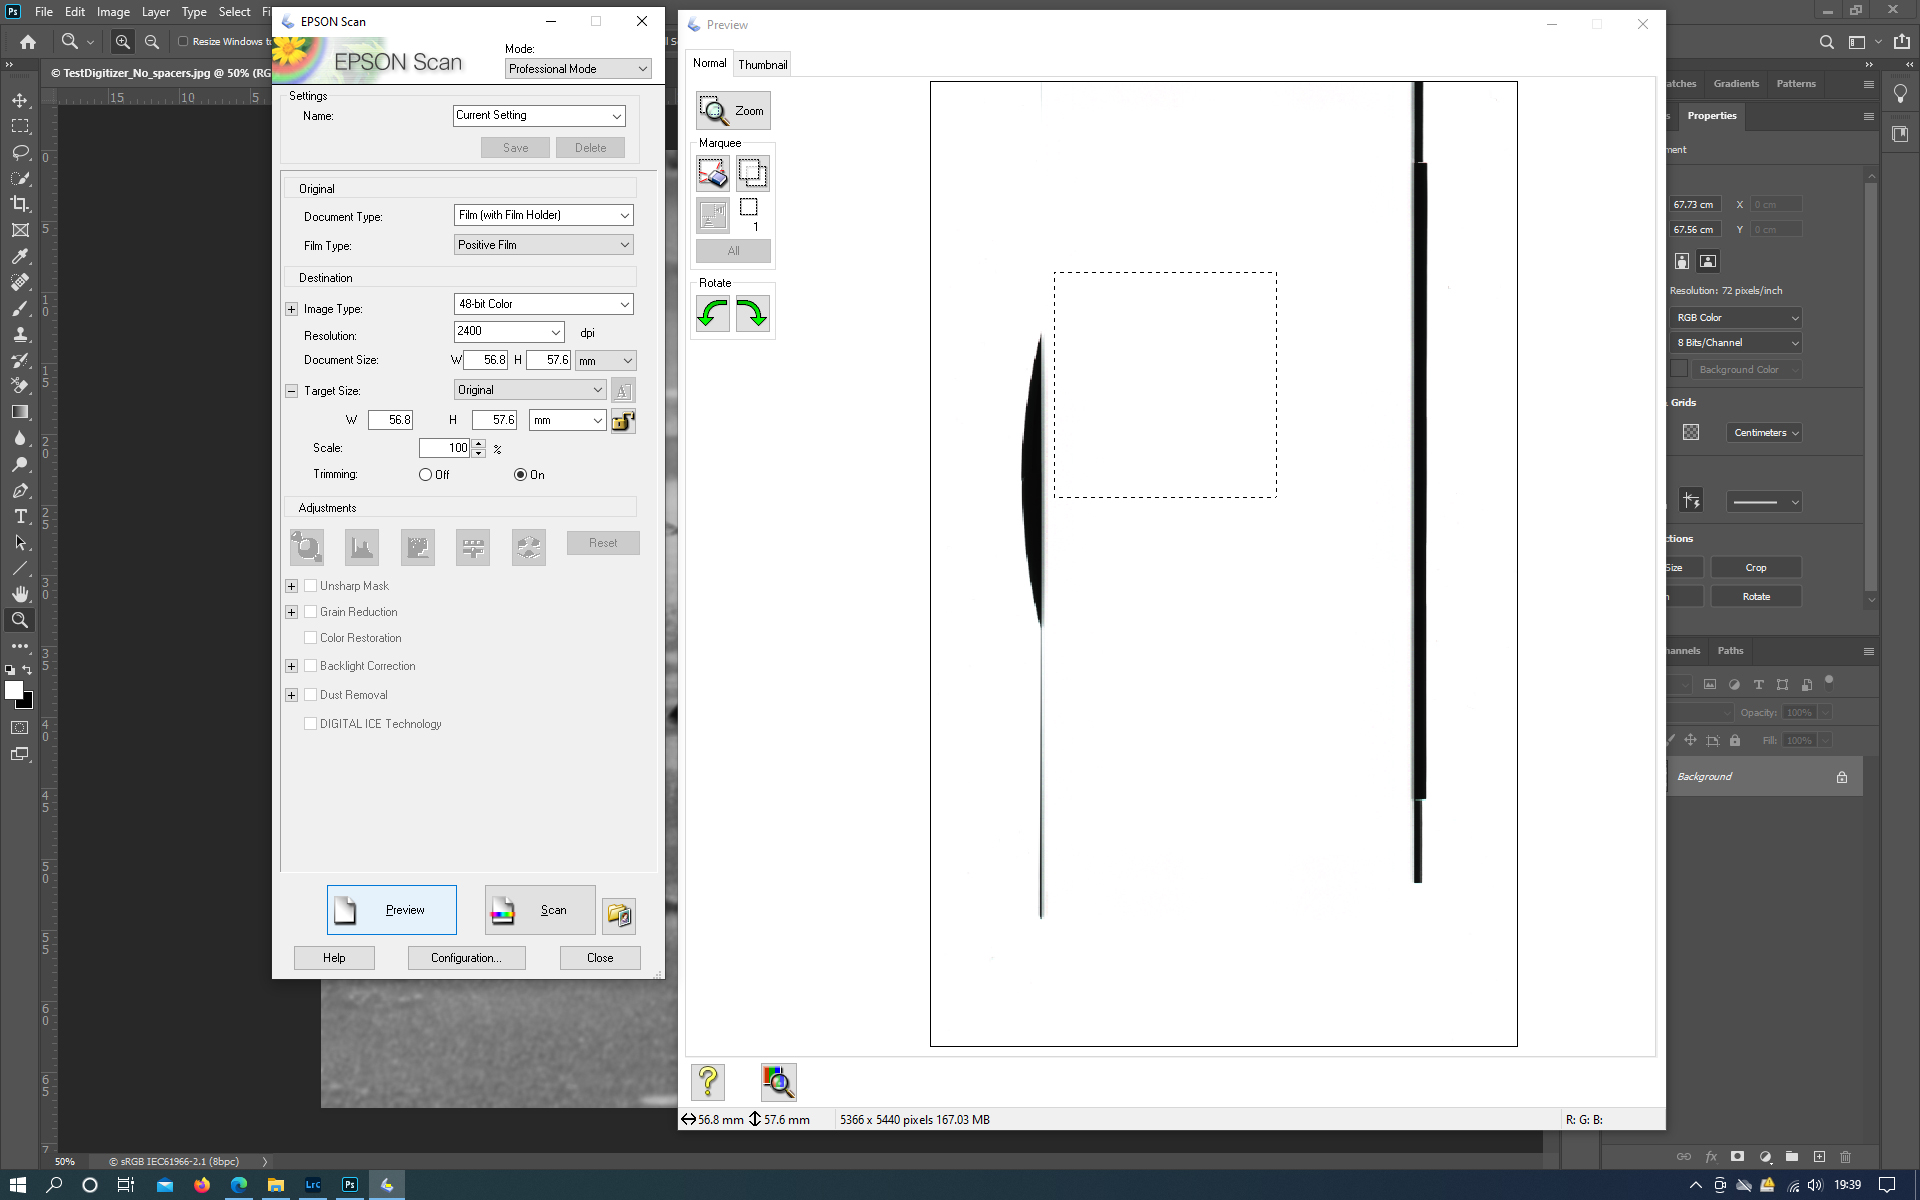
I tried again this time selecting a different document type. Same thing? What’s going on? Slight panic sets in. I then moved the holder to the middle of the scanner glass. Hit preview again and phew…. I got a preview! Who knew that you couldn’t align the holder to the edge!
The Results
I imported the first scan to Lightroom Classic. Converted the negative using Negative Lab Pro, and then had a 1:1 look. WHAT!!? OH NO…. It’s soft, even worse than using my Epson holder.
But wait! I knew that there was an element of ‘focusing’ with these Epson scanners. The original holders come with little ‘feet’ that adjust into 3 different height positions. I remember when I first got the scanner I went through a process of finding the optimum setting. Mine was to have no ‘feet’ at all. But I have heard that different scanners, (even from the same model), have different sweet spots for focus.
I hoped the Digitaliza would be at said sweet spot. Clearly, it wasn’t. So, I set about experimenting with different heights to see what I could get. Luckily, I had some camera light seal foam so I started with 1mm, 2mm and then 3mm to raise each end of the holder.

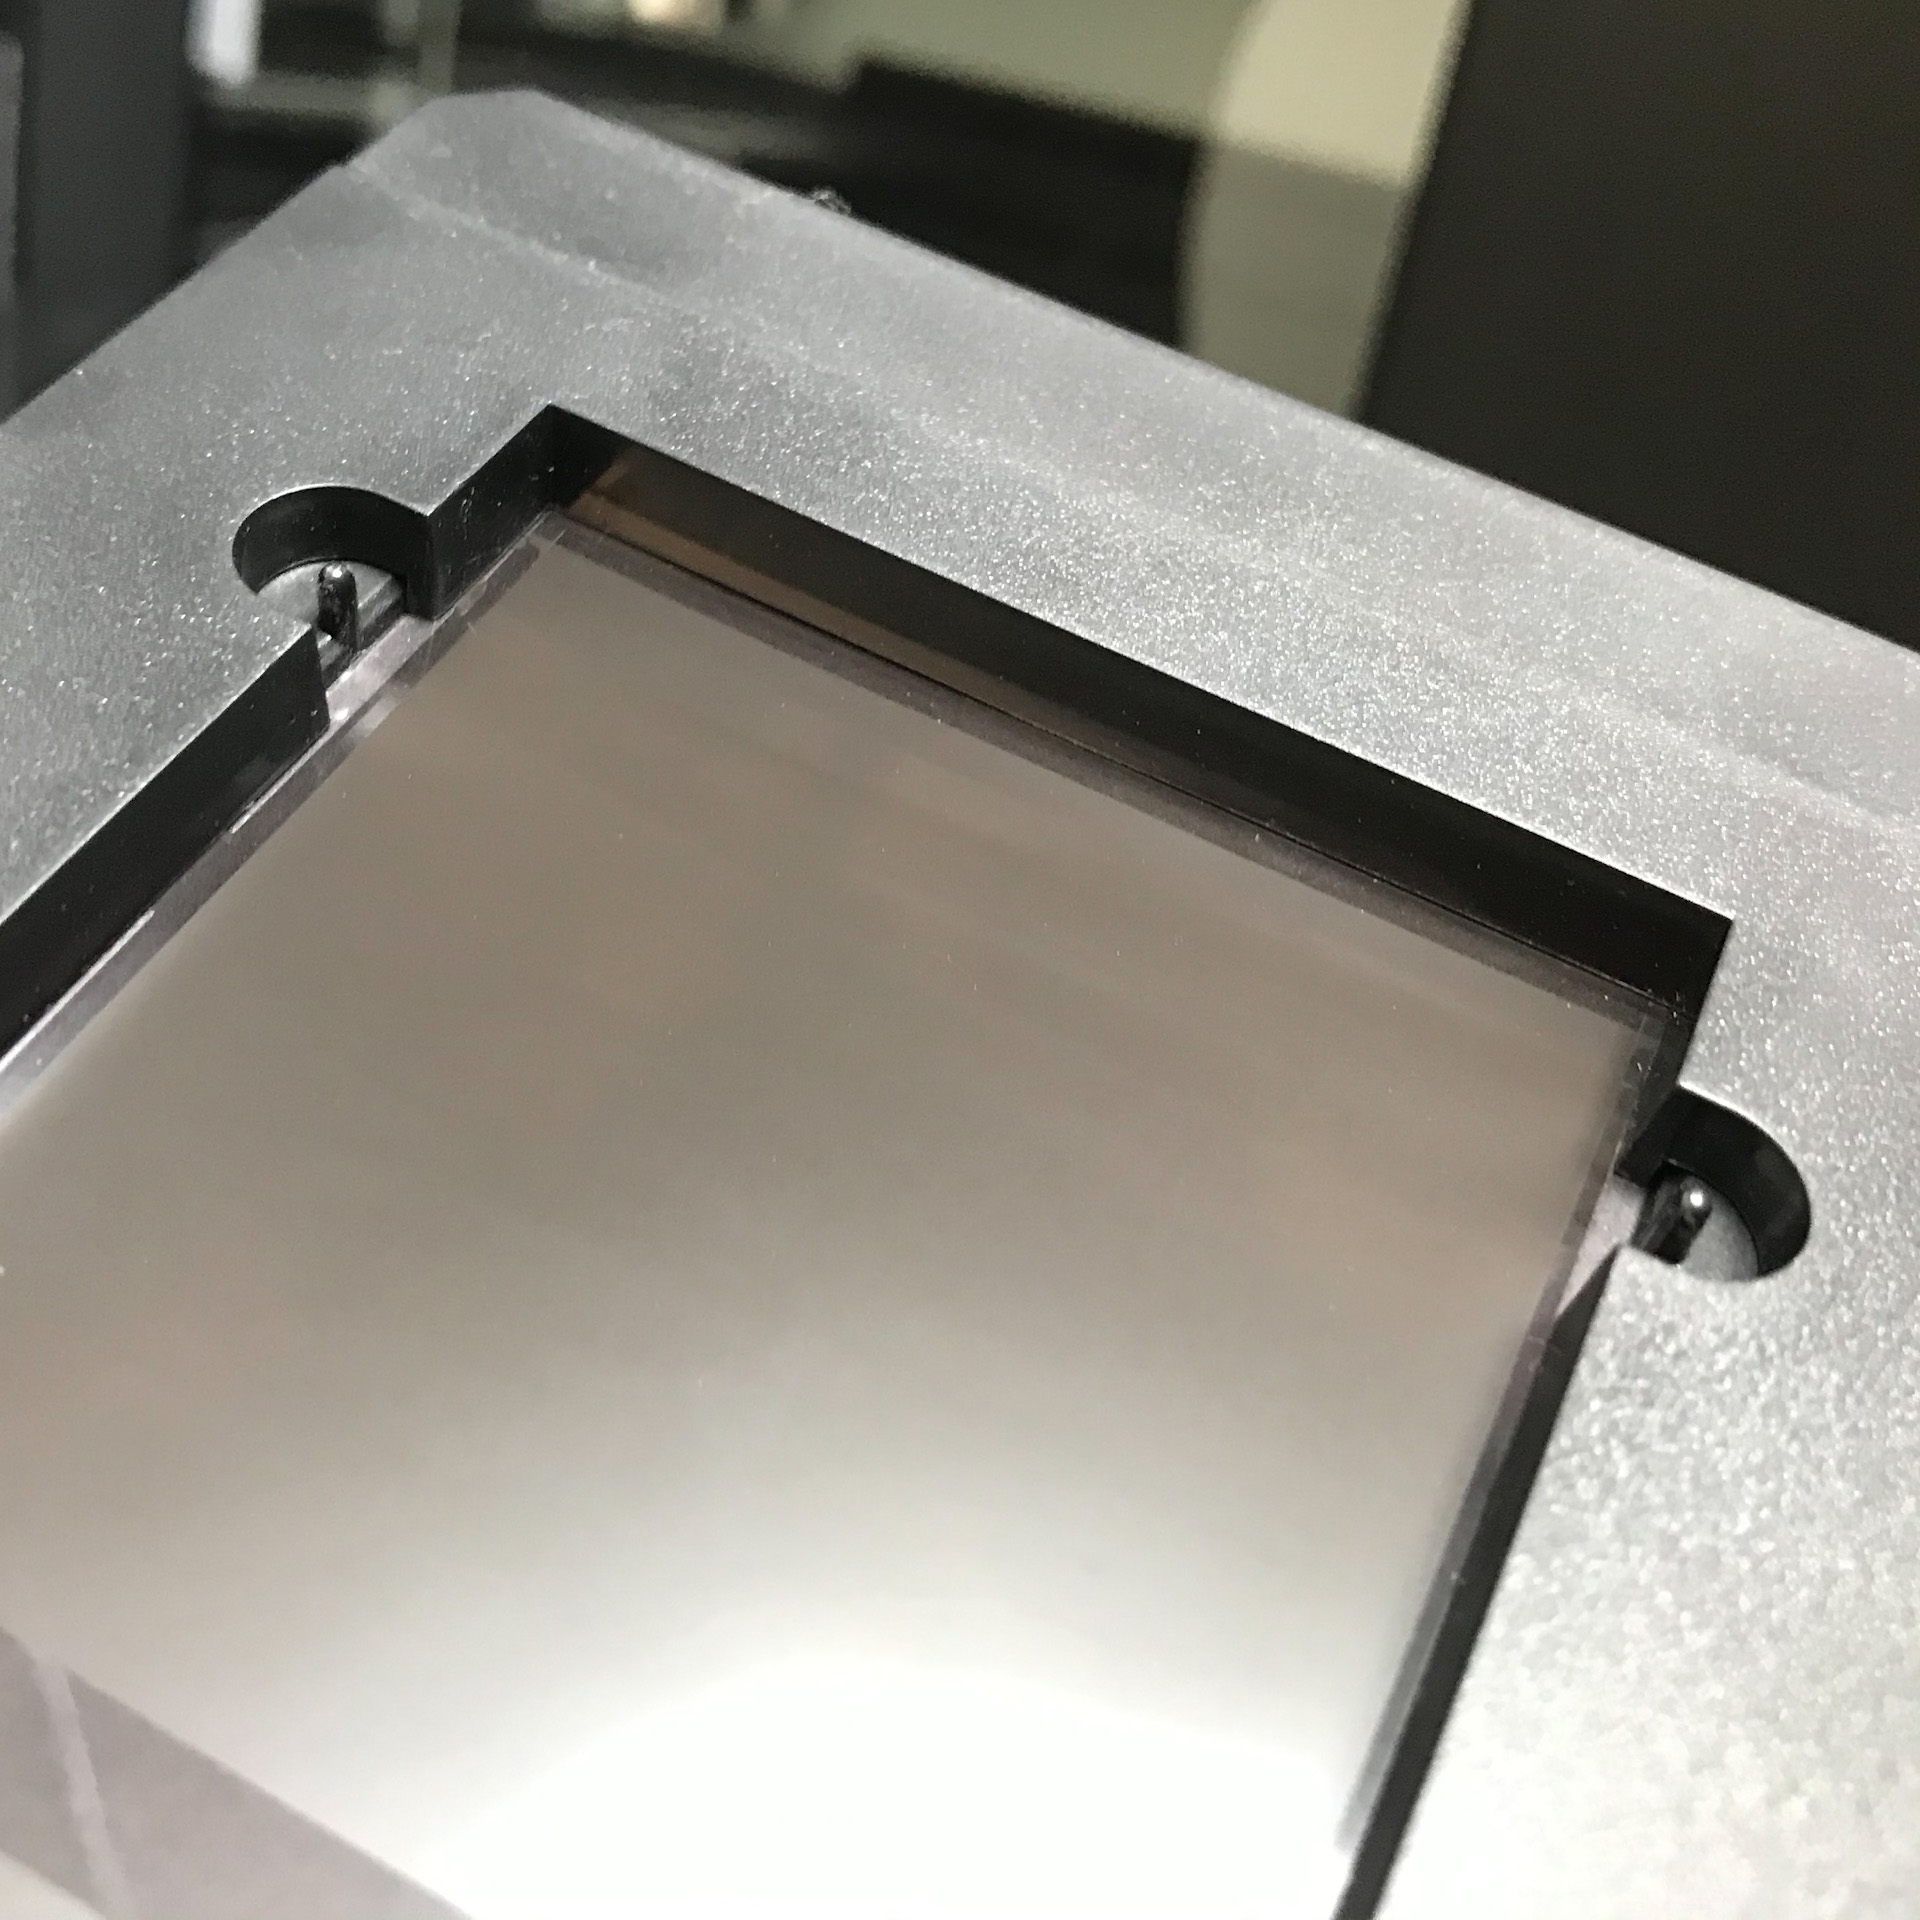
Lovely flat 120 negative 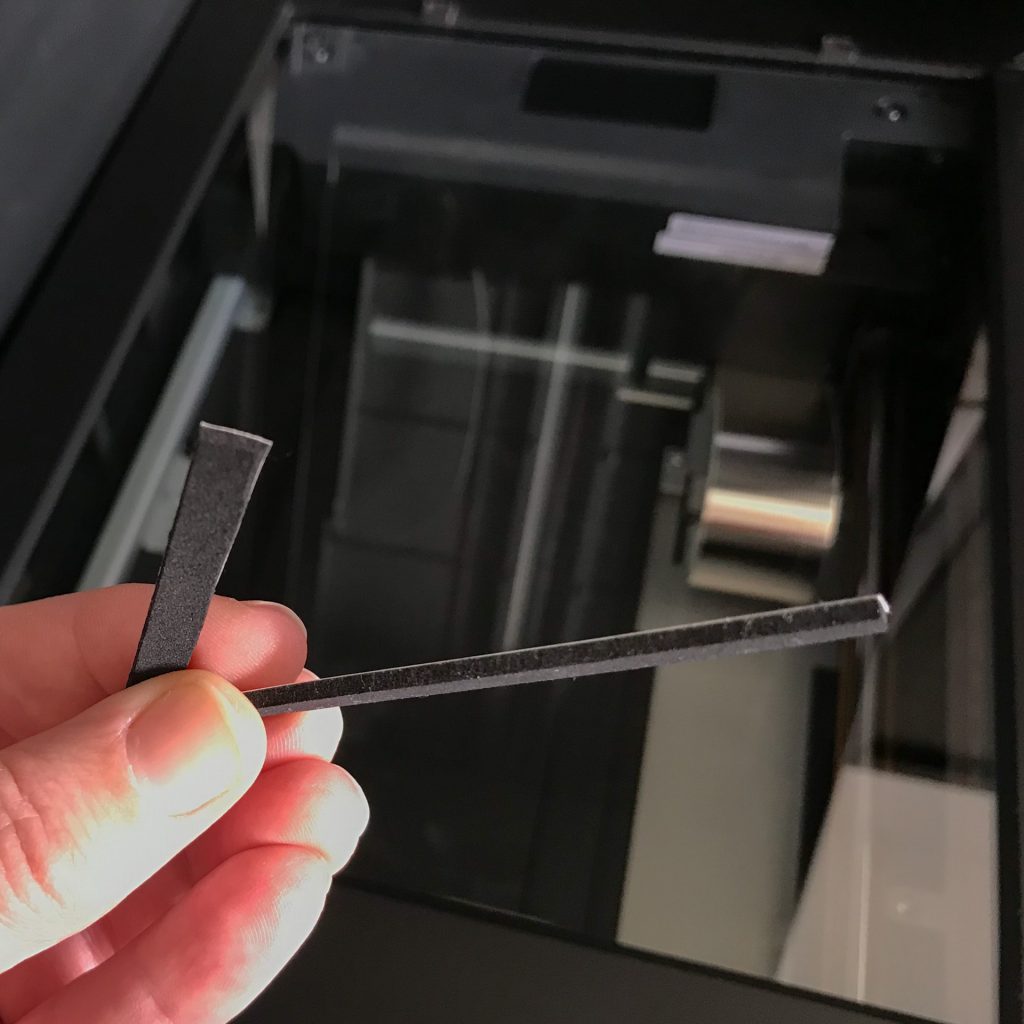
2mm foam spacers 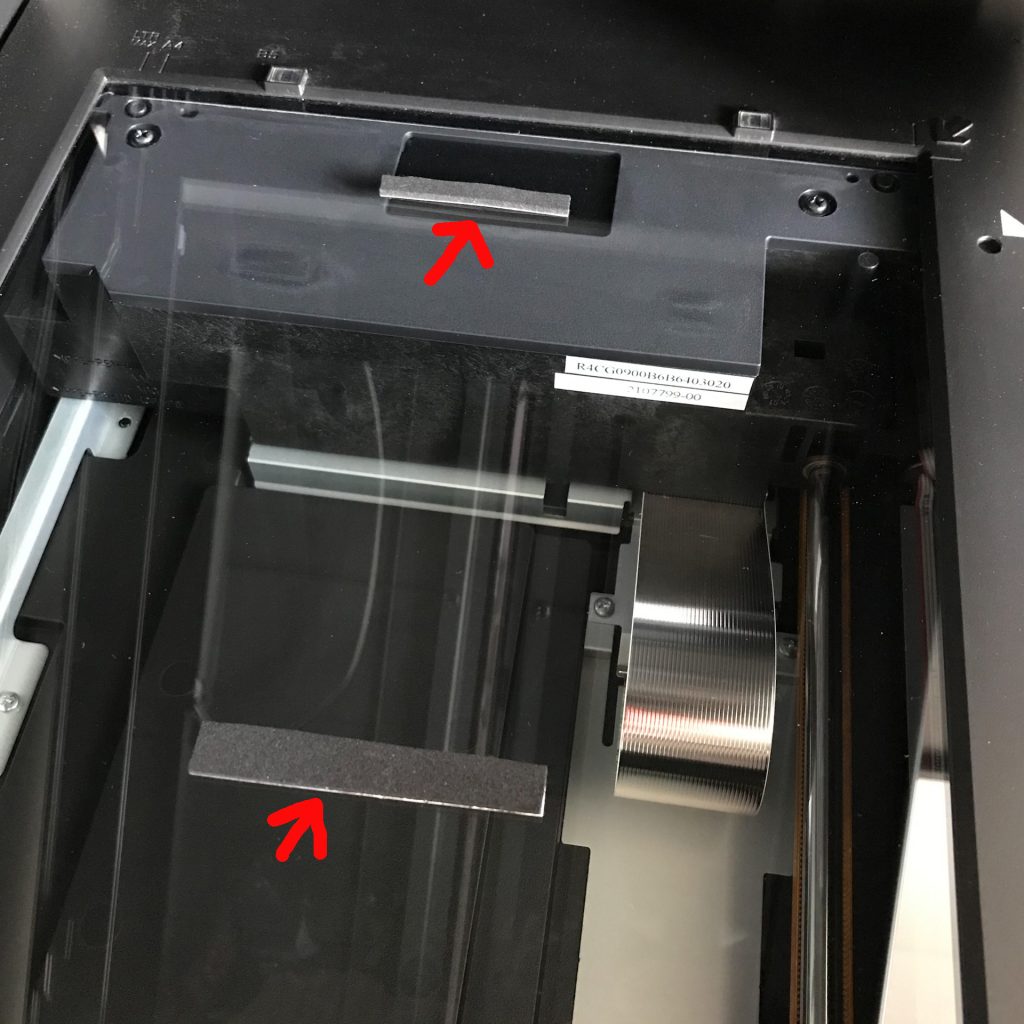
2mm foam spacers placed on glass
Here are the results (click on the image for zoomed view):


I’m amazed! No sharpening has been applied in either Epson Scan, Negative Lab Pro or Lightroom. 2mm for me is clearly optimum. I’ll probably see if I can eke any more out by adding some thin card. And once I’ve got it I’ll stick the pads to the Digitaliza. Either way I’m pleased at the extra ‘bite’ I’ve gotten out of my scanner. If you are a flatbed scanner user definitely give this a try.
I feel renewed love for my Epson V750 scanner. I’m looking forward to rescanning more 120 negatives from the archive and having a happier time when it comes to future scanning needs.
Lomography, congrats on creating an amazing product for us film photographers! Now, if you could only add in some little adjustment feet… 🙂
Thanks for reading, I hope this was helpful. If you have any questions or top tips of your own feel free to get in touch.
Discover more from Paula Smith | Photography
Subscribe to get the latest posts sent to your email.

Steven Lawson
24 Feb 2021Thanks for the article Paula, it’s really interesting and helpful. I have an Epson V600 and my scanning has always been haphazard, so this has prompted me to take more care and more notice of the results.
Paula Smith
24 Feb 2021Glad it was helpful Steven! My experience is limited to the V750, but its well worth messing about and seeing what you can get out of the scanner. Negative flatness is definitely key so any improvements here will I’m sure help.