Ilford Photo’s PanF plus 50 is one of those films that I always have in supply but hardly ever use. Why? It ticks so many boxes – contrast I like, low grain, great sharpness and a reasonable price.
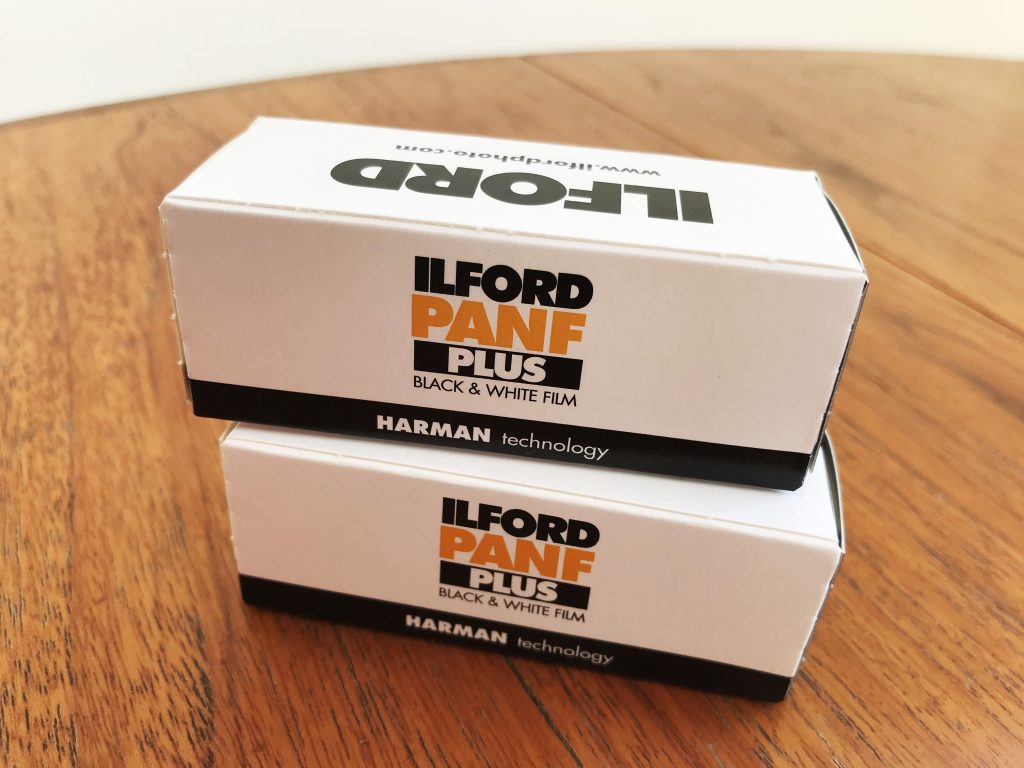
Well, most of the time it’s down to the fear of not having enough light to handhold my camera. I don’t want to lug around a tripod and let’s face it for much of the year in the UK we don’t necessarily have the light levels to be able to shoot ISO 50 film. Add to that I’d always heard “PanF+ can’t be pushed…don’t even bother.”
Then, I read the interview with Em from Emulsive on Ilford Photo’s website https://www.ilfordphoto.com/lockdown-sessions-emulsive/ and saw his examples of PanF+ pushed 4 stops to 800. They looked great! Yes, that’s right 800! Imagine that… mind blown!
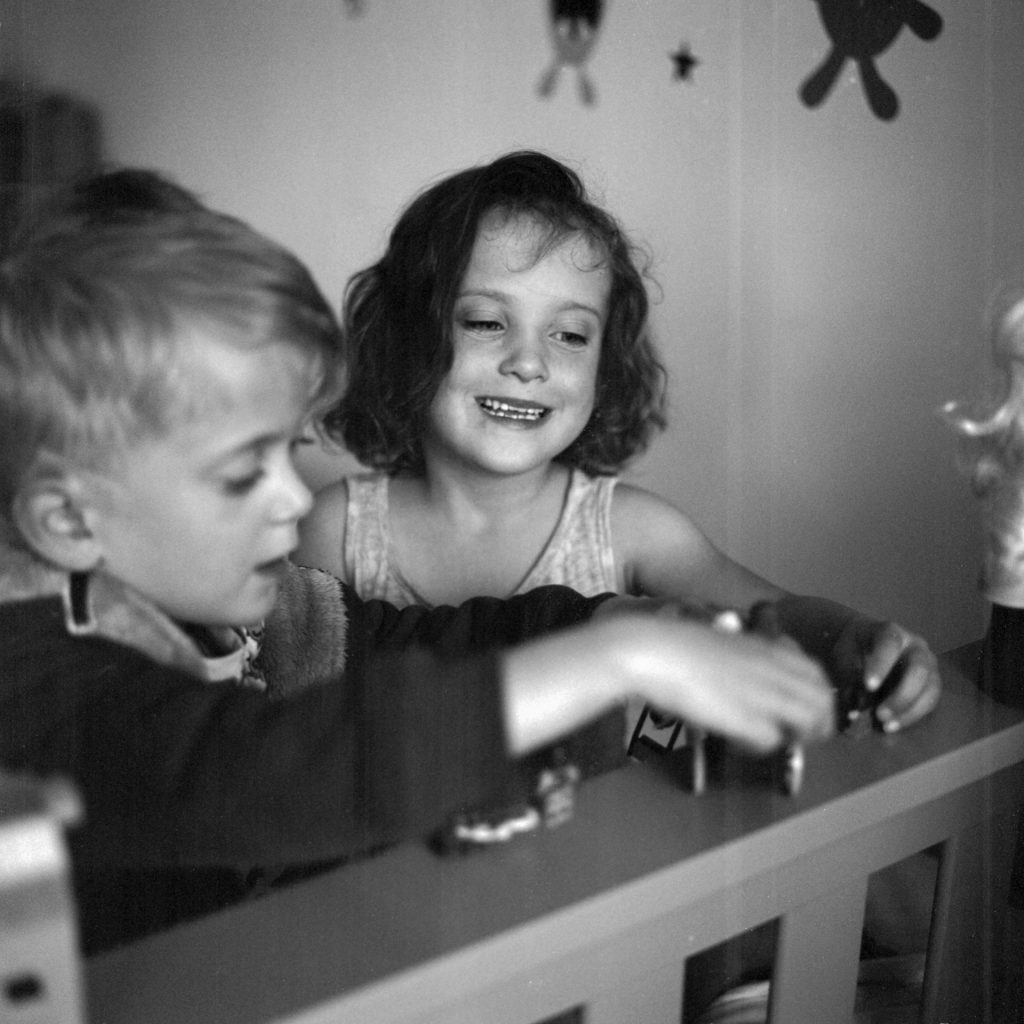
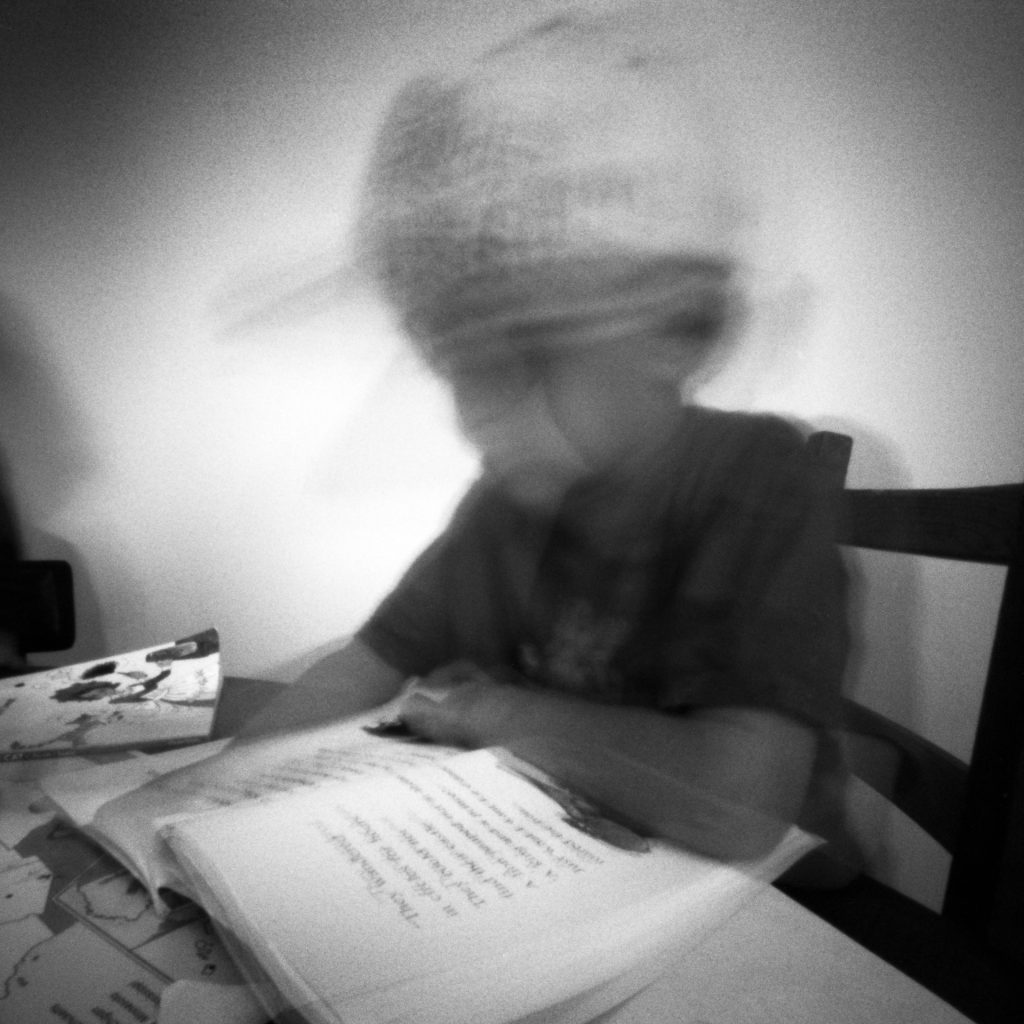
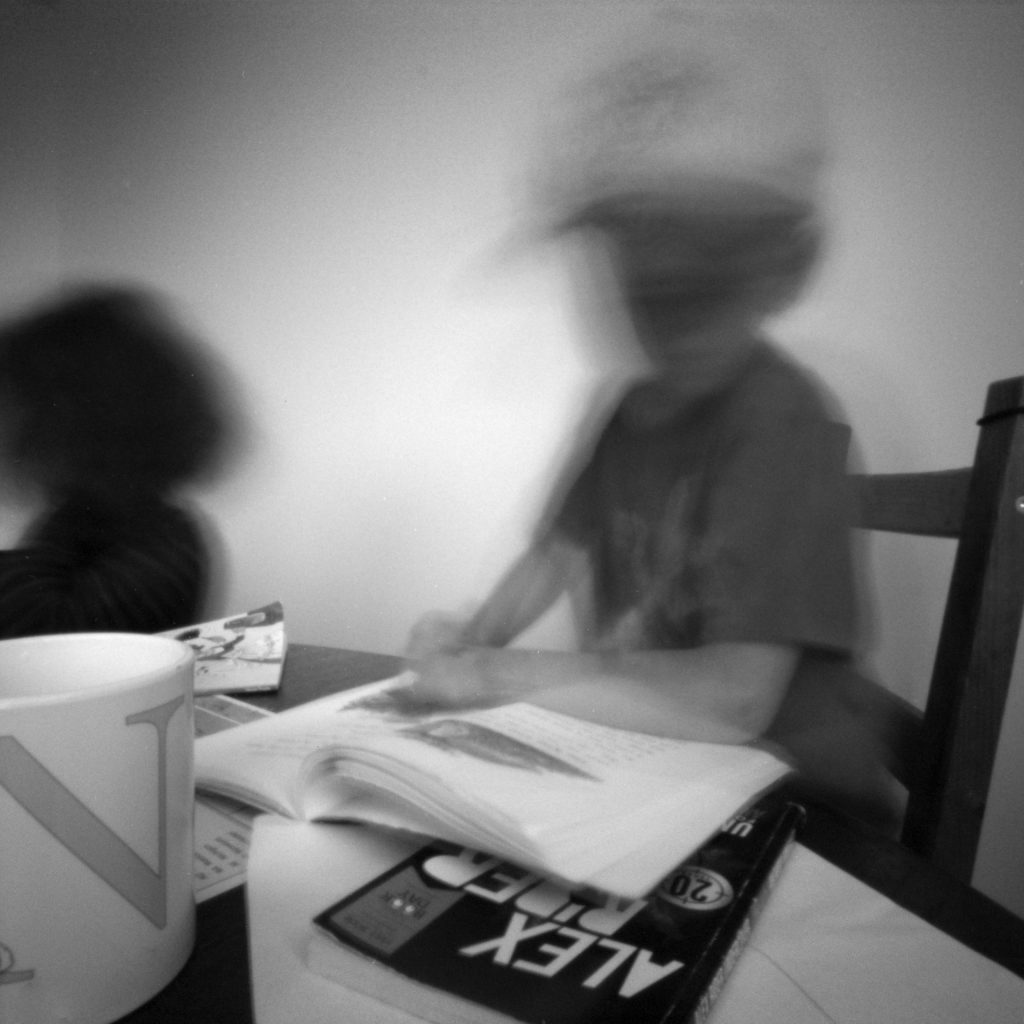
So, with that I decided to try a couple rolls of 120 in my own ‘lockdown session’ stuck at home with some still life subjects and my unwilling kids.
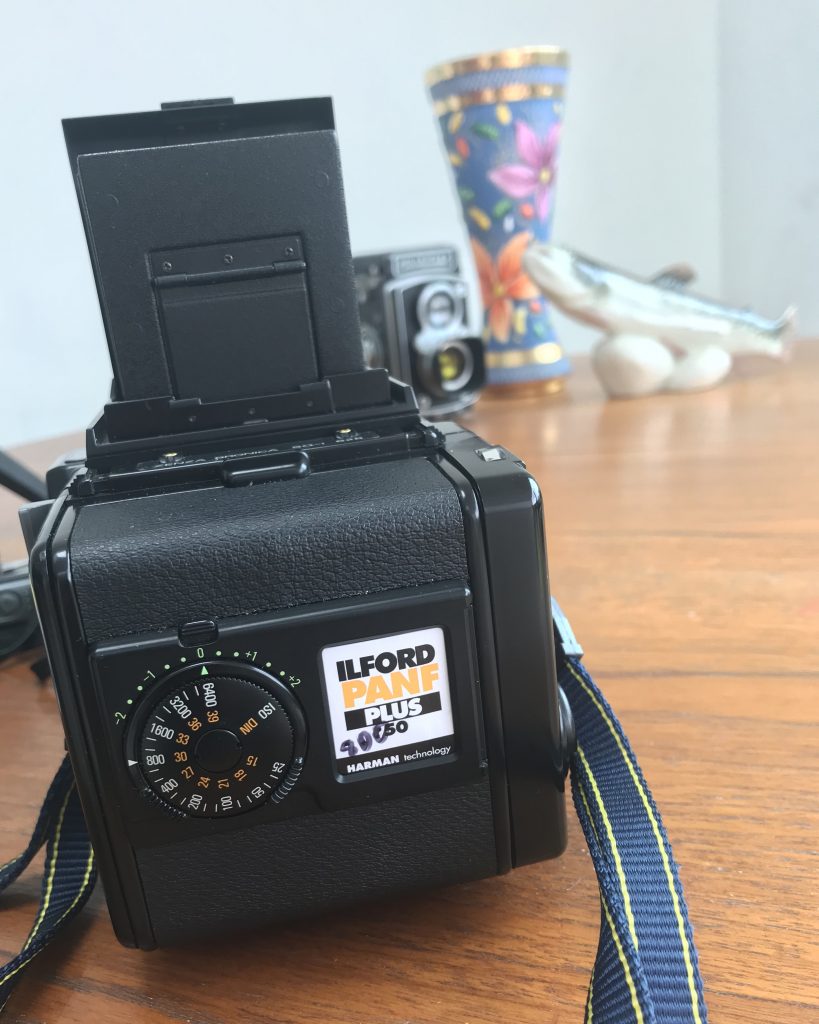
The kit:
I used a Bronica SQAi with 80mm and 150mm lens and an Ondu Multiformat Pinhole set to 6×6. I handheld the Bronica and the Ondu was placed on a mini tripod. Lighting was metered using a Sekonic L-308b.
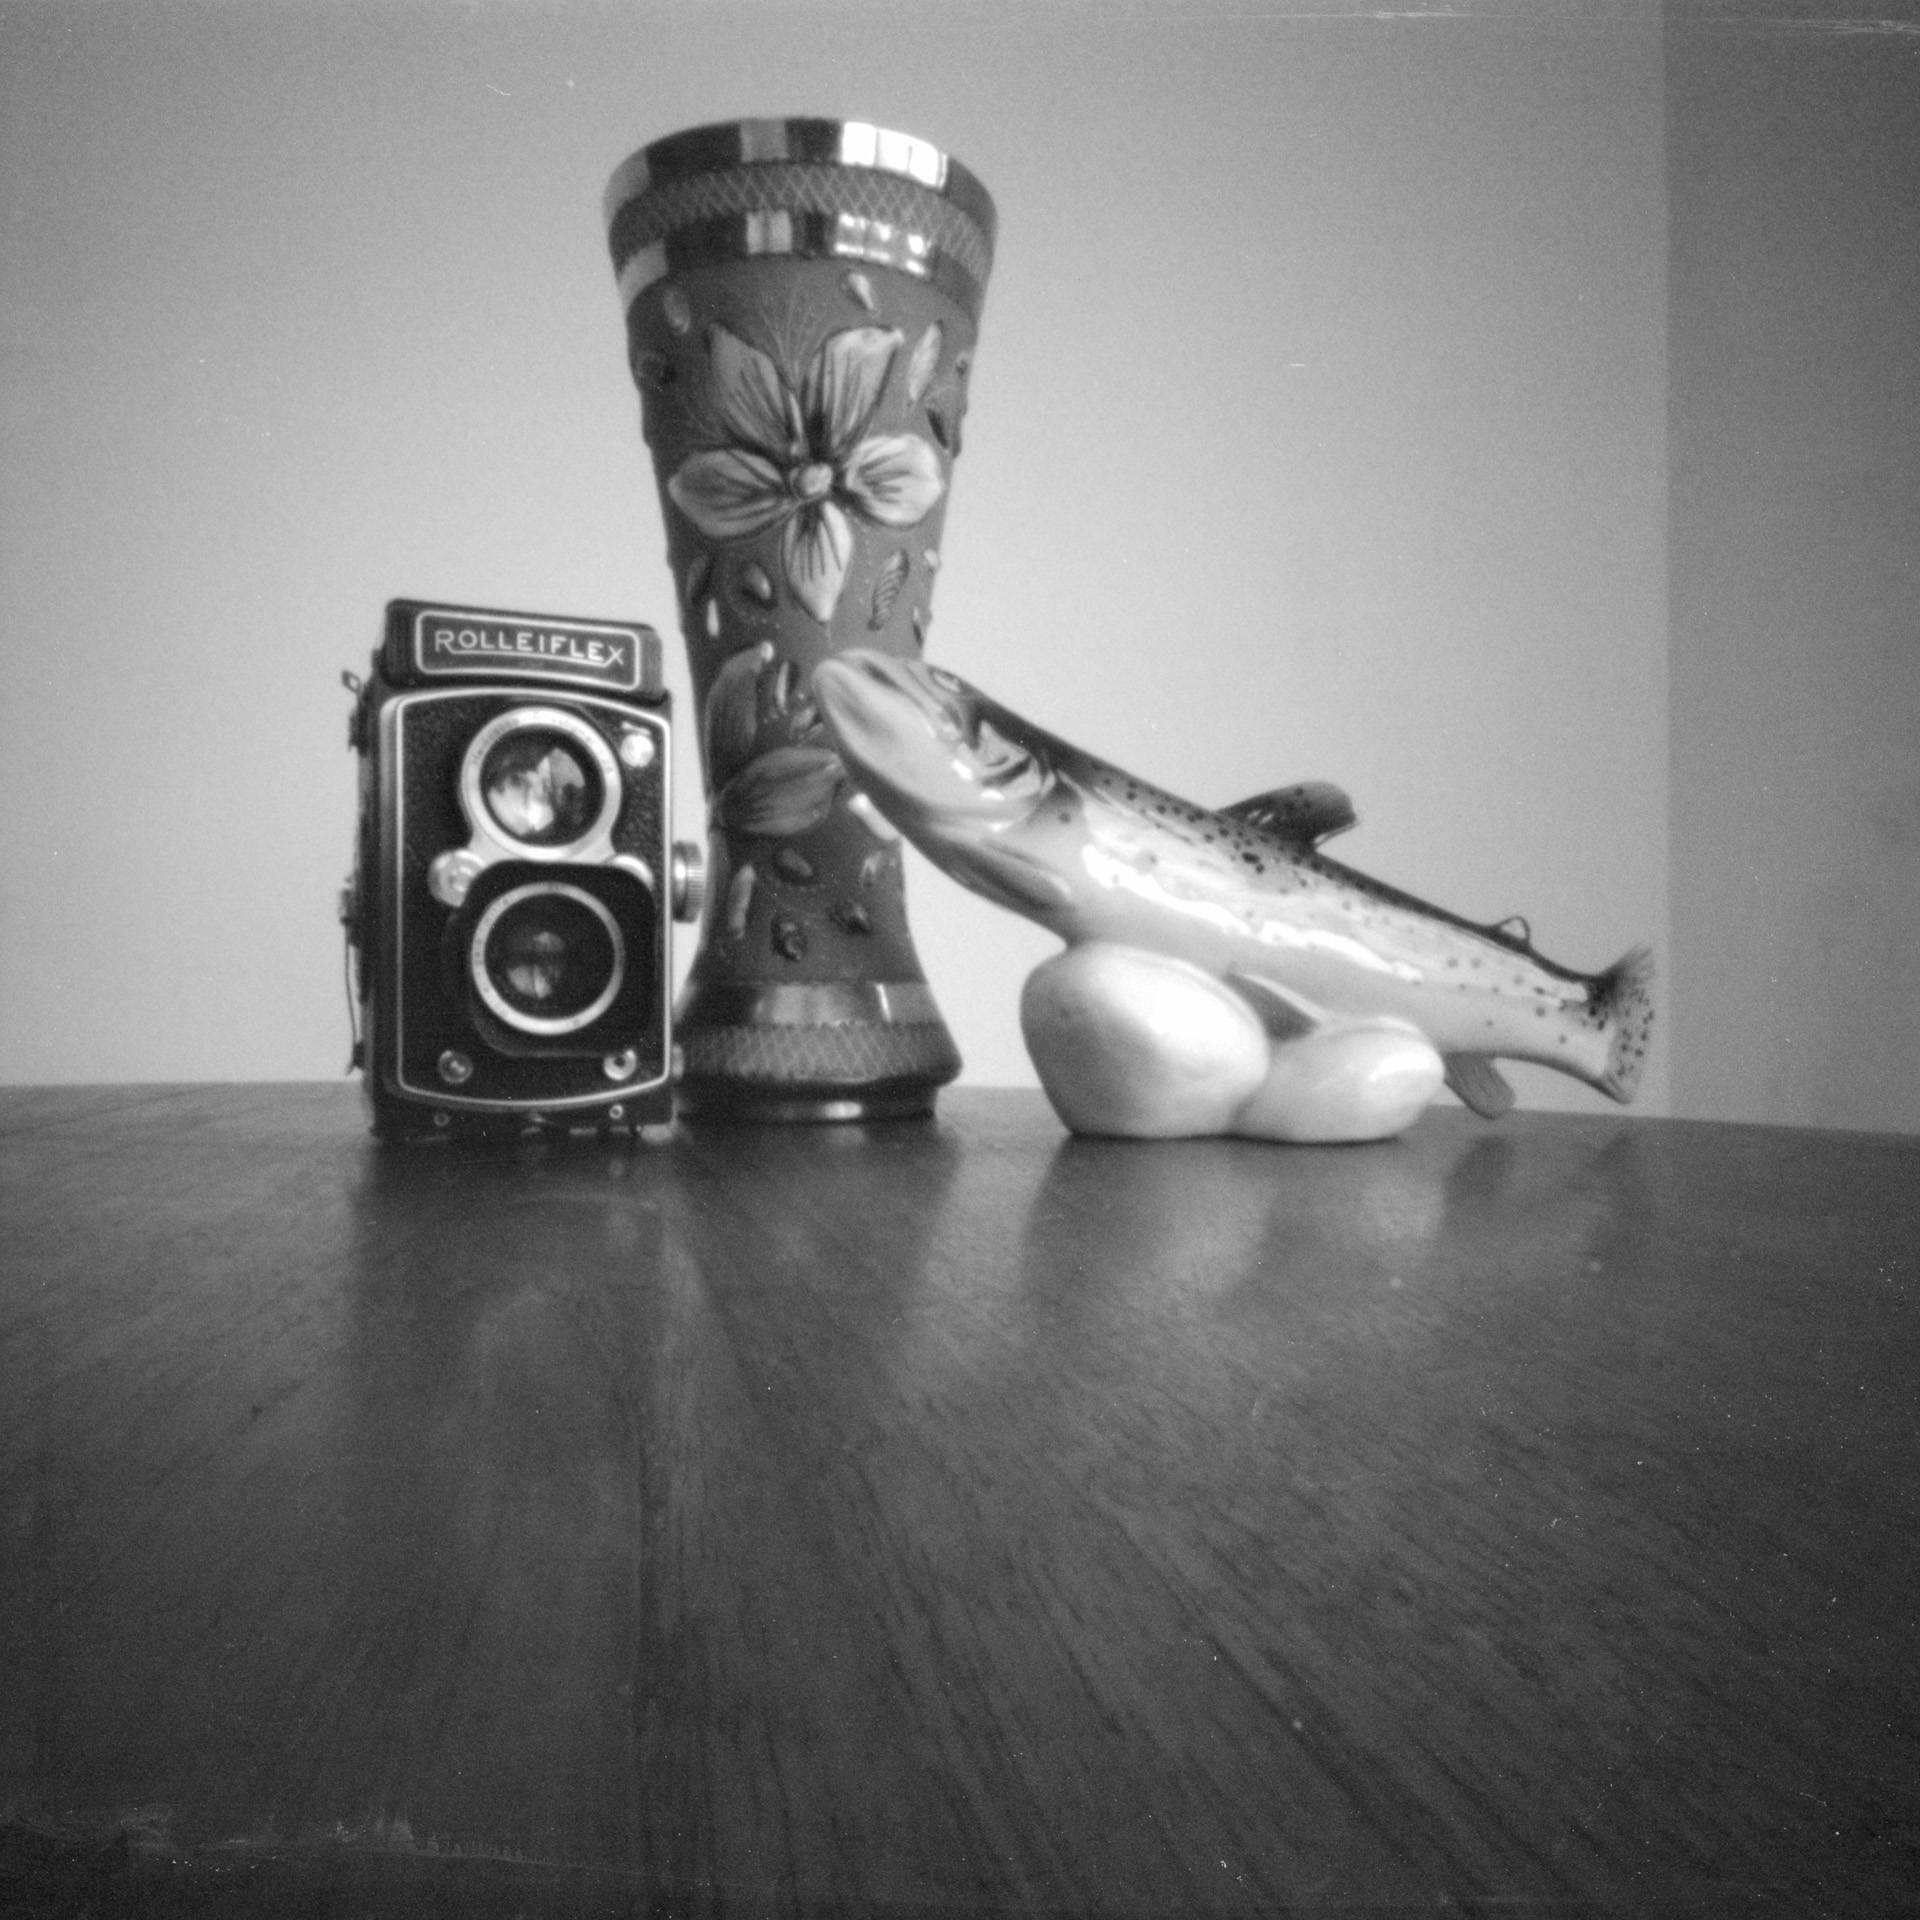
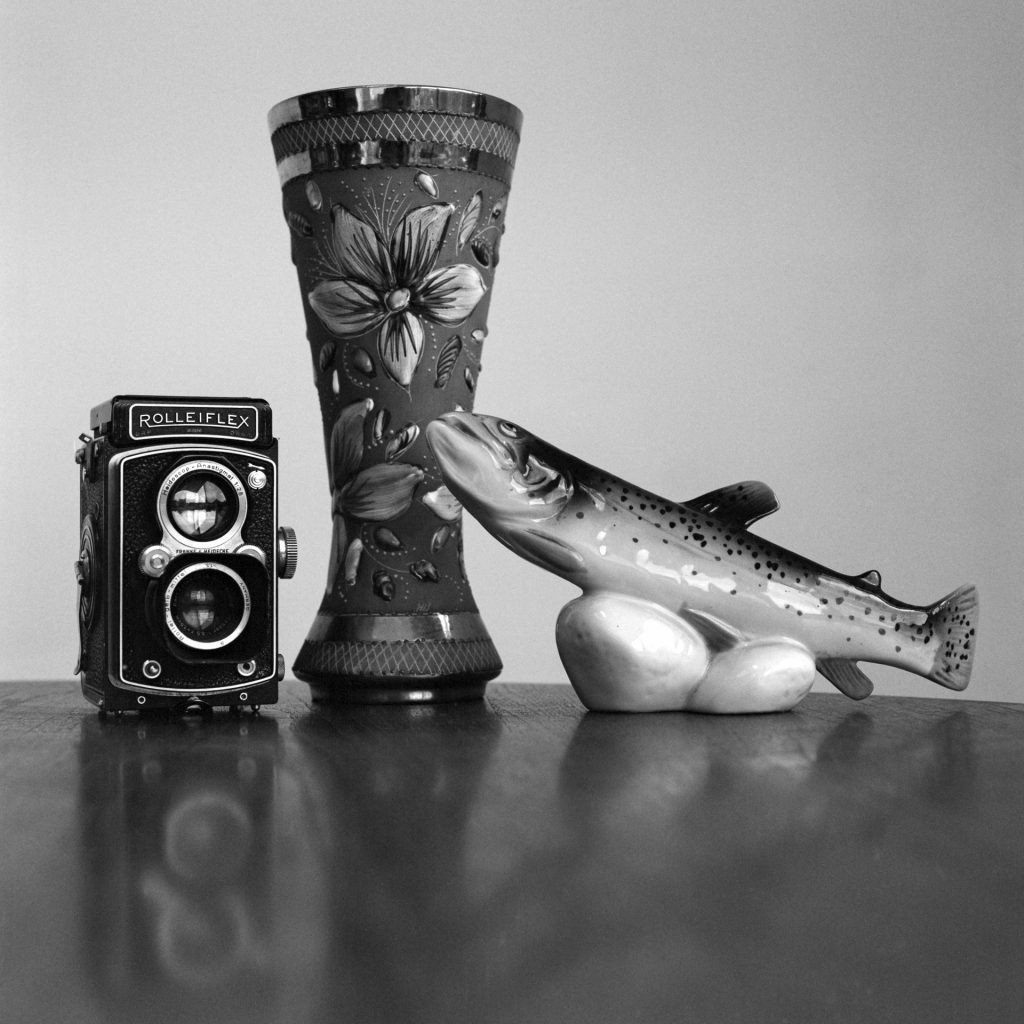
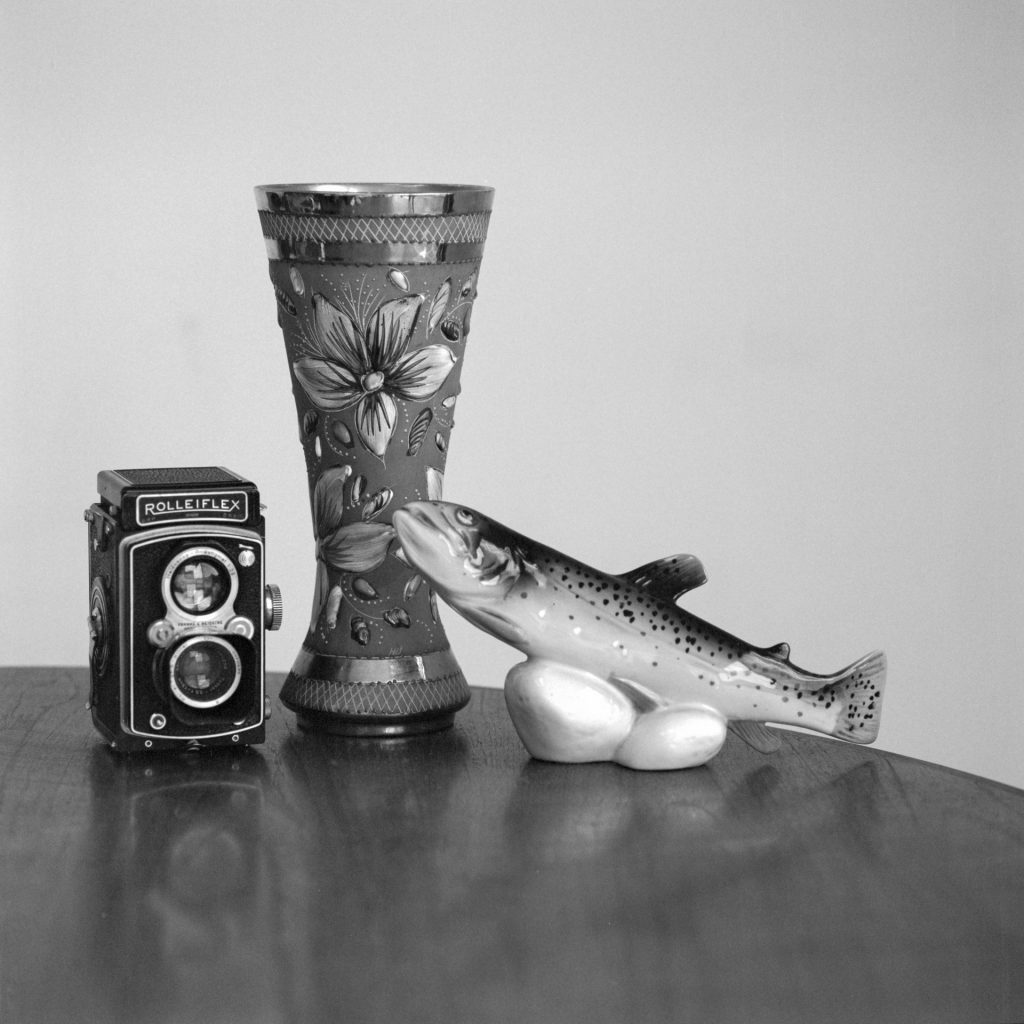
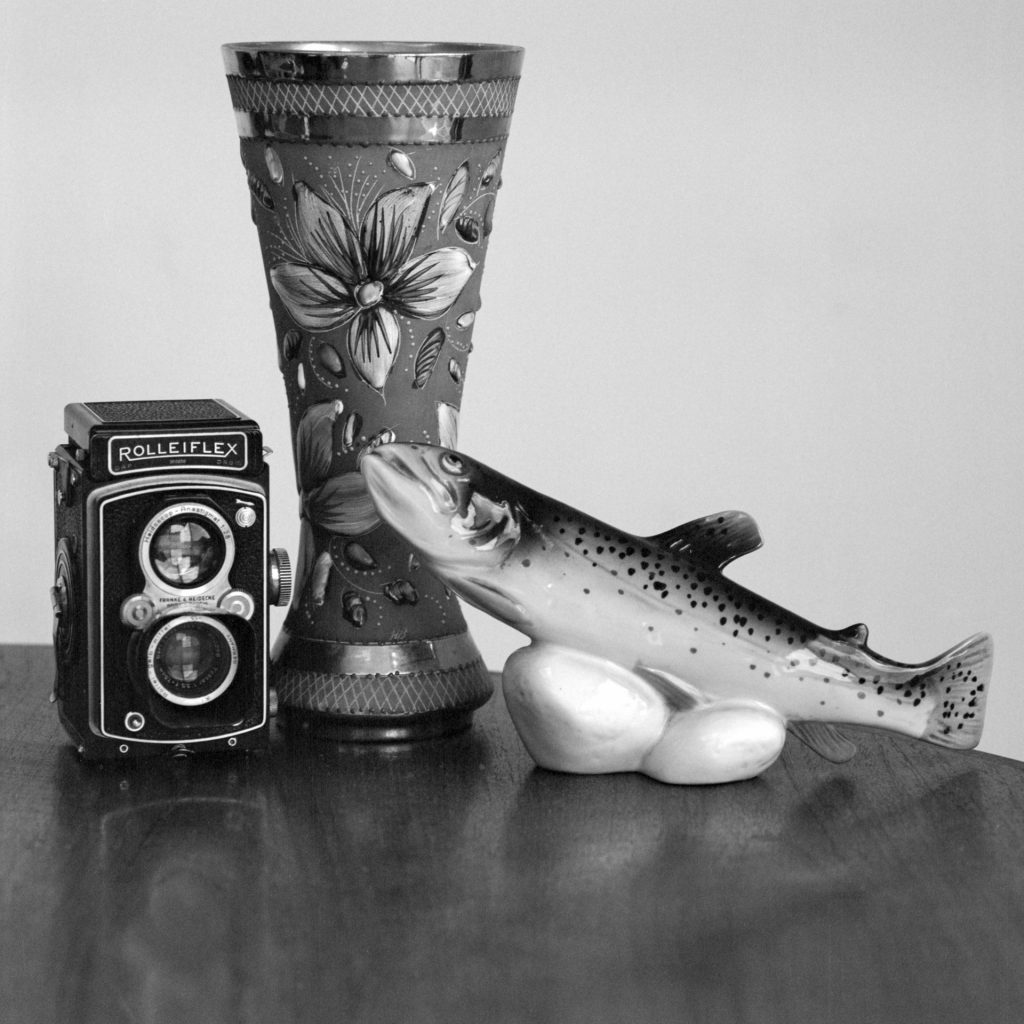
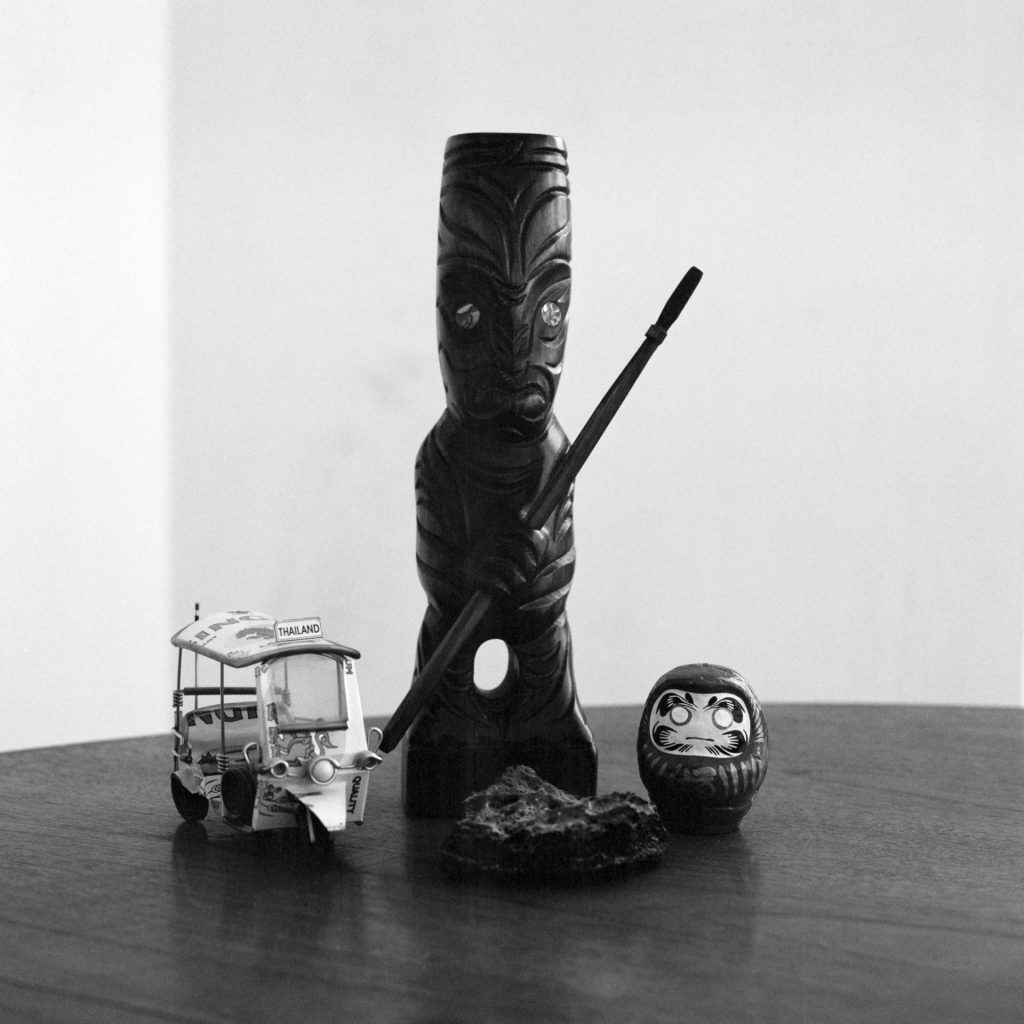
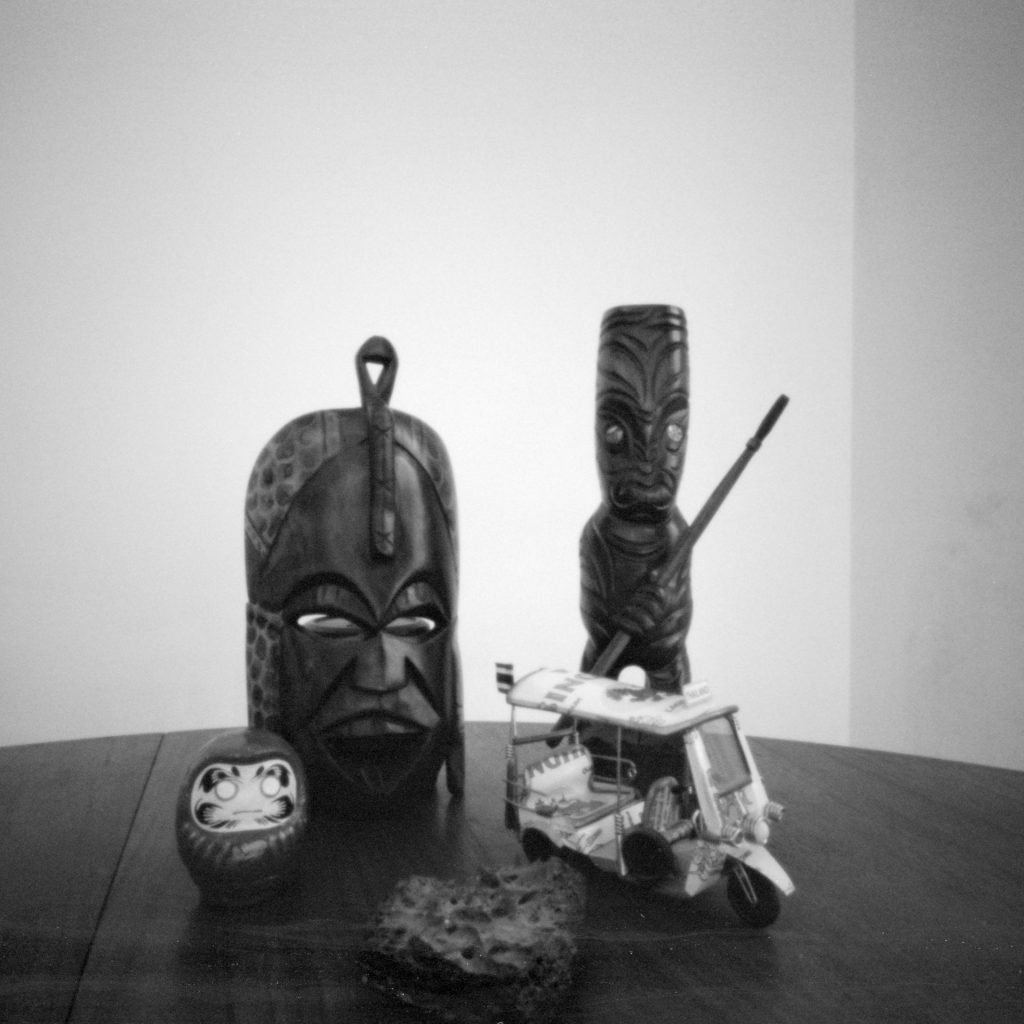
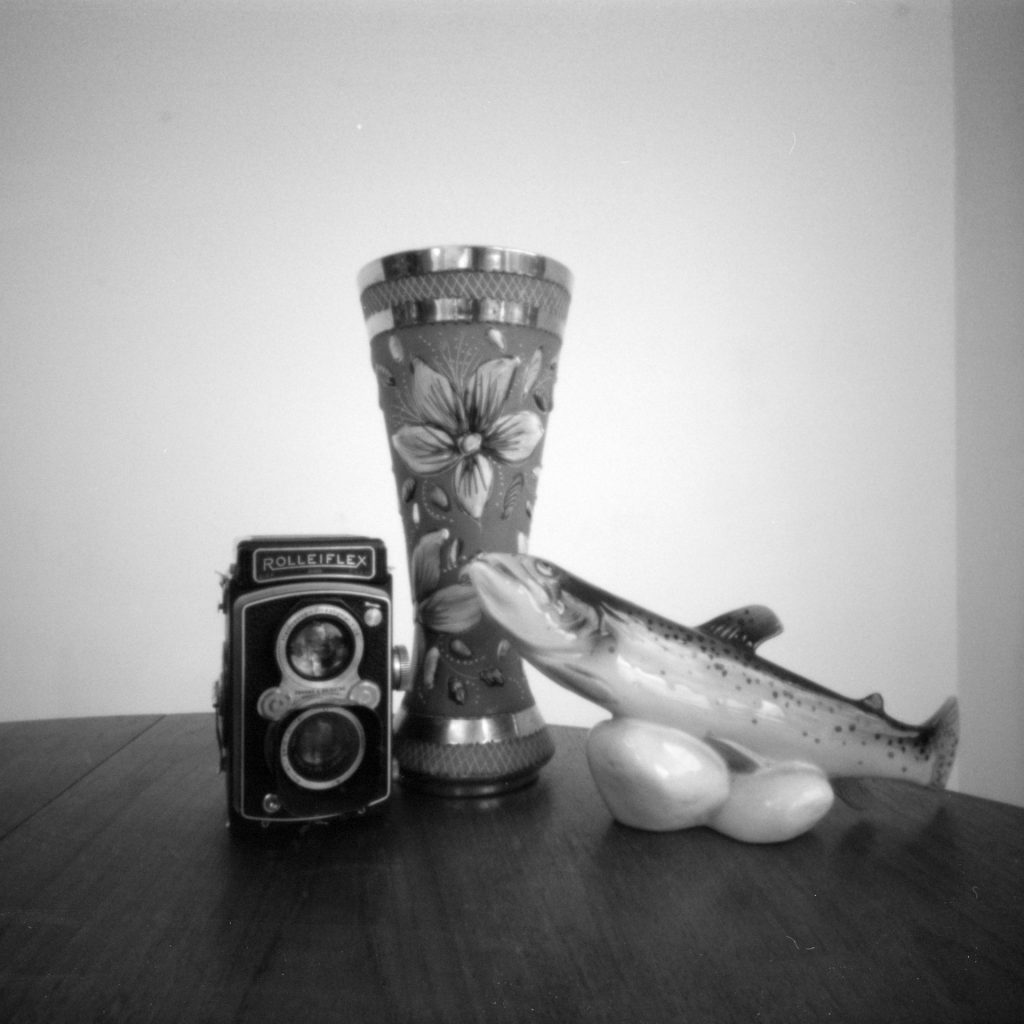
I gathered together some random sentimental objects and arranged them on the dining room table next to a large window. They offered a good range of colours, tones and textures so we’d see what we’d get.
Developing:
Here I was a little unsure… I had some Ilfotec HC, Ilford DD-X and some old Rodinal knocking about in my developing box. If you go to Massive Development chart you will not find a recipe for developing Panf+ at 800. But with the general guidelines of push developing and increasing the temperature, along with Em’s advice via twitter on how he developed his PanF+ at 800, I set myself on a path for using Ilfotec HC 1+31 at 24 degrees C for 12mins.
I agitated for the first minute, then 10 seconds for every minute. This was followed by Ilford’s stop bath and rapid fixer for 5mins. The negatives were scanned on an Epson V750 using Epson’s software and brought into Lightroom. Minimal editing has been done – some dust removed, wonky frames cropped and straighten and a touch of exposure adjustments made.
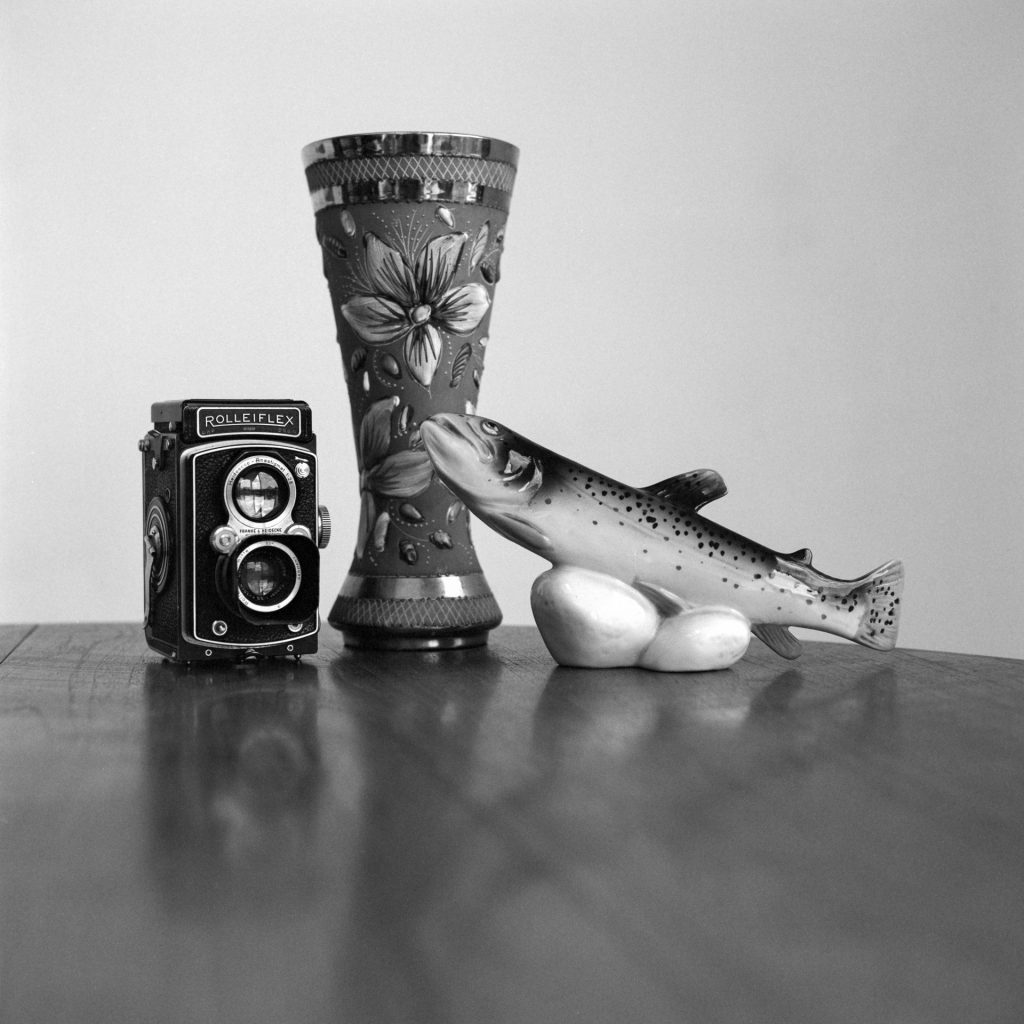
Here are the results. Not without fault, I messed up a couple of exposures and got the dreaded track marks from my overzealous squeegeeing of the film but they are my errors not the films!
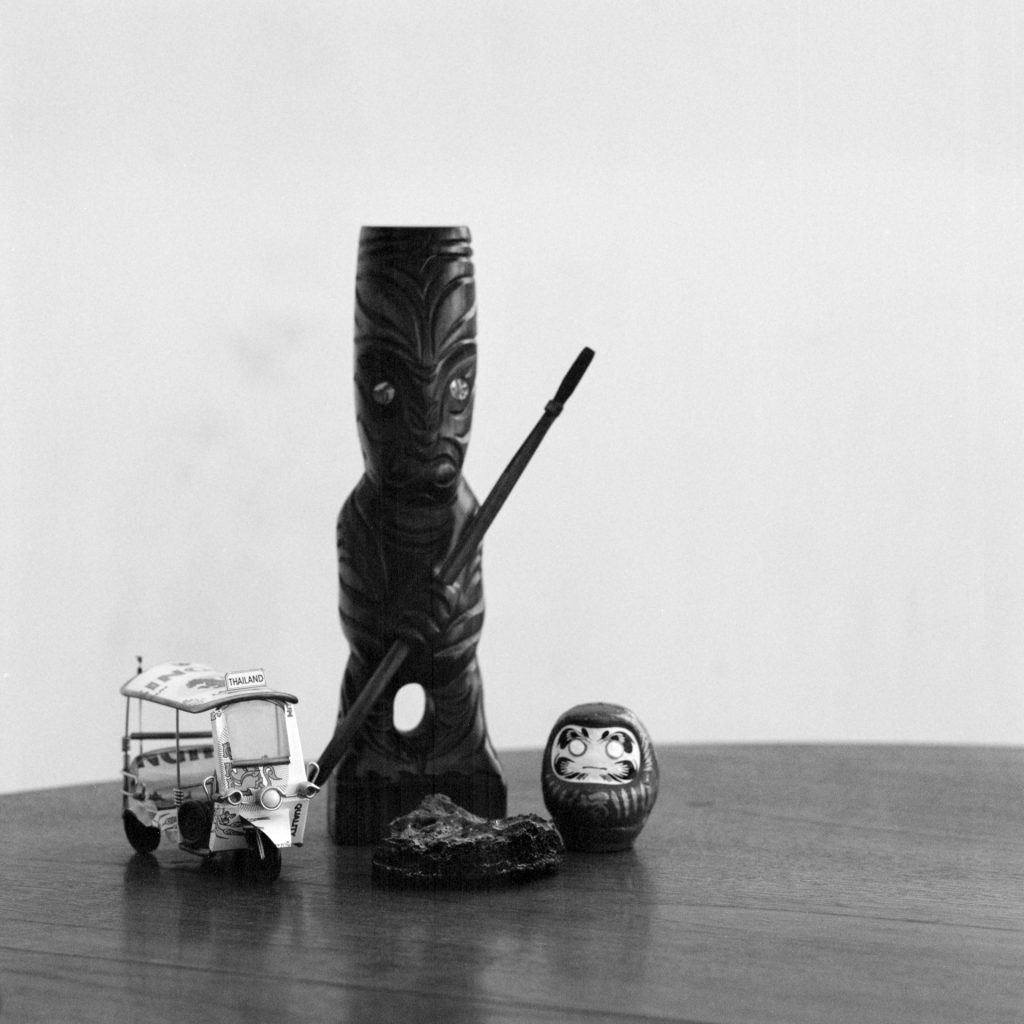


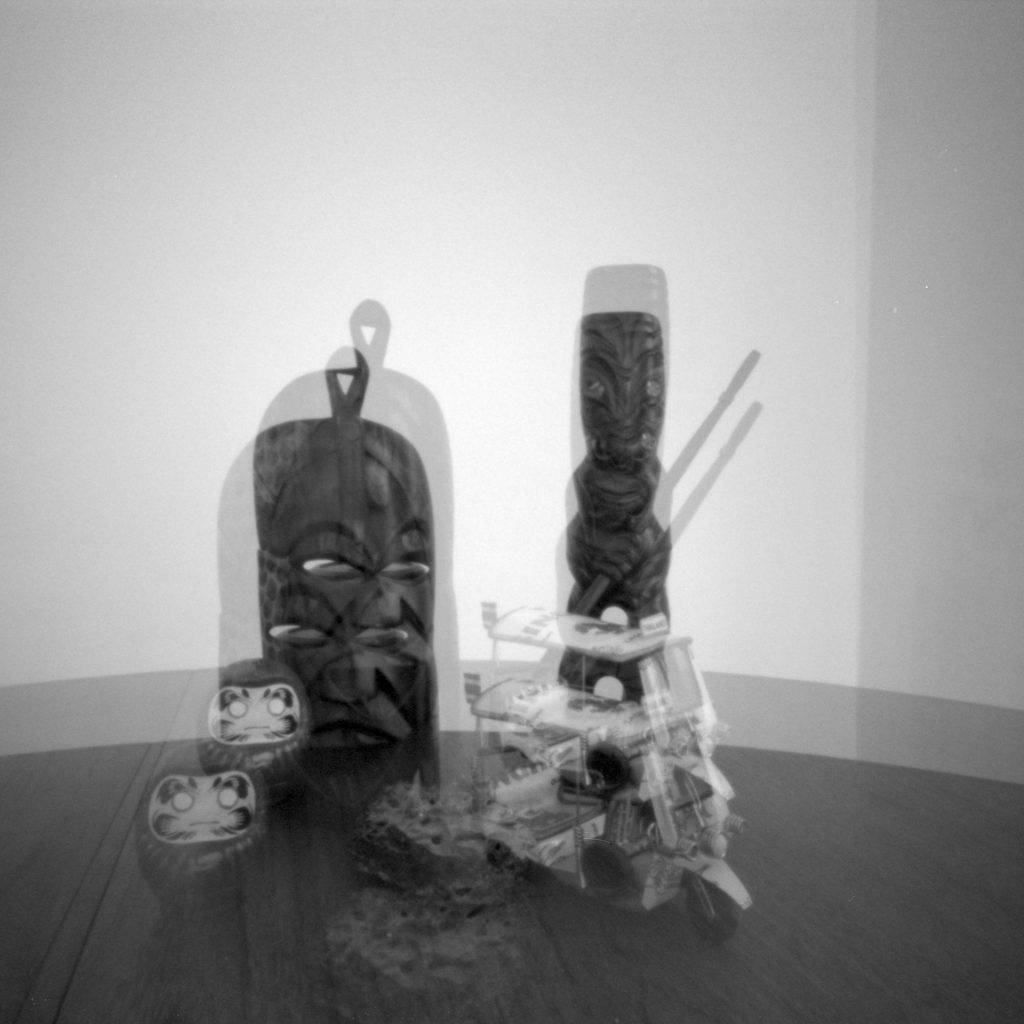
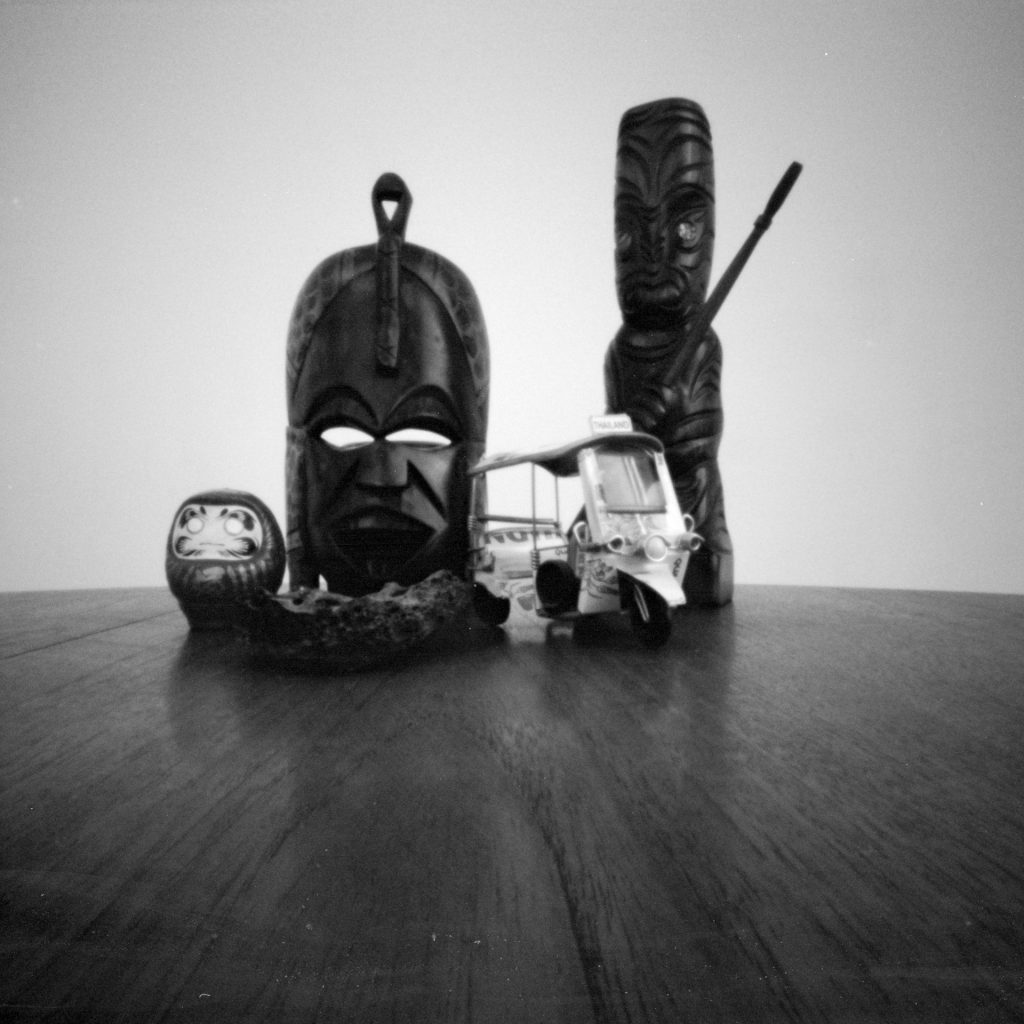
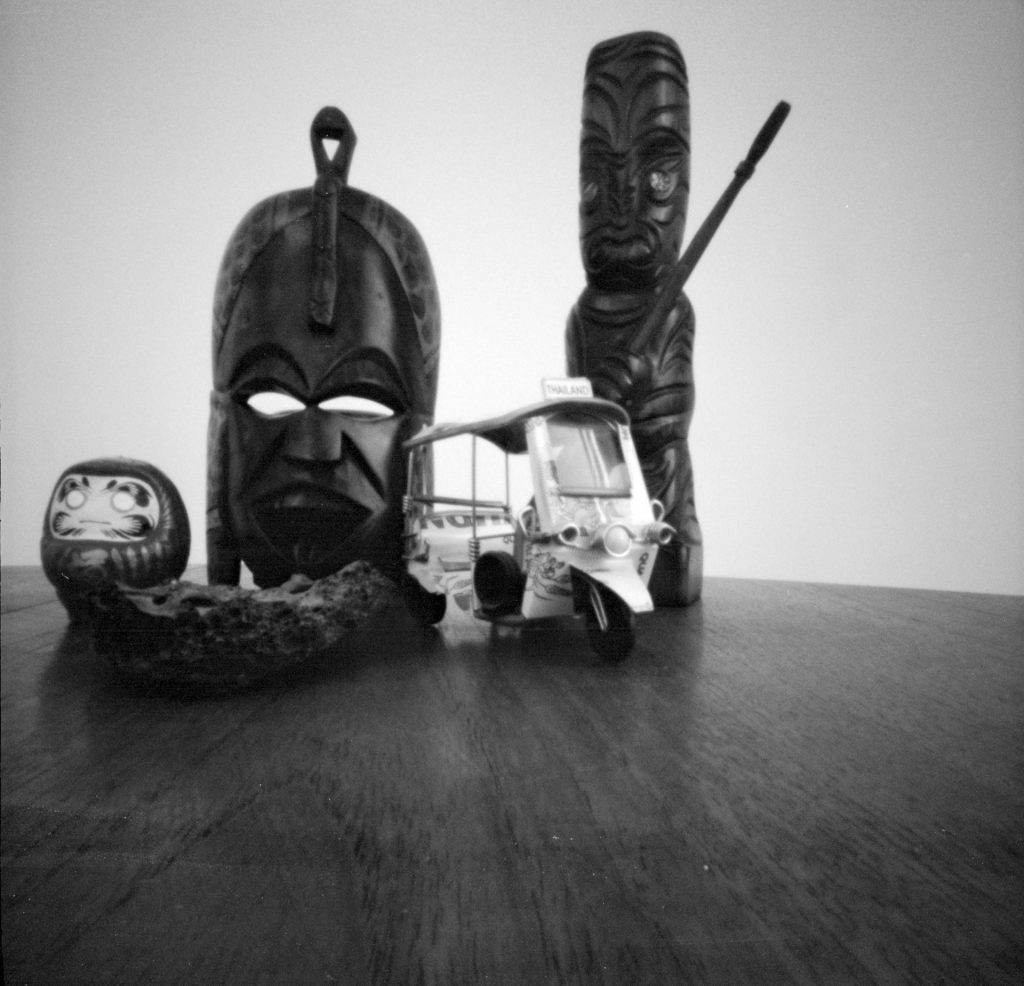
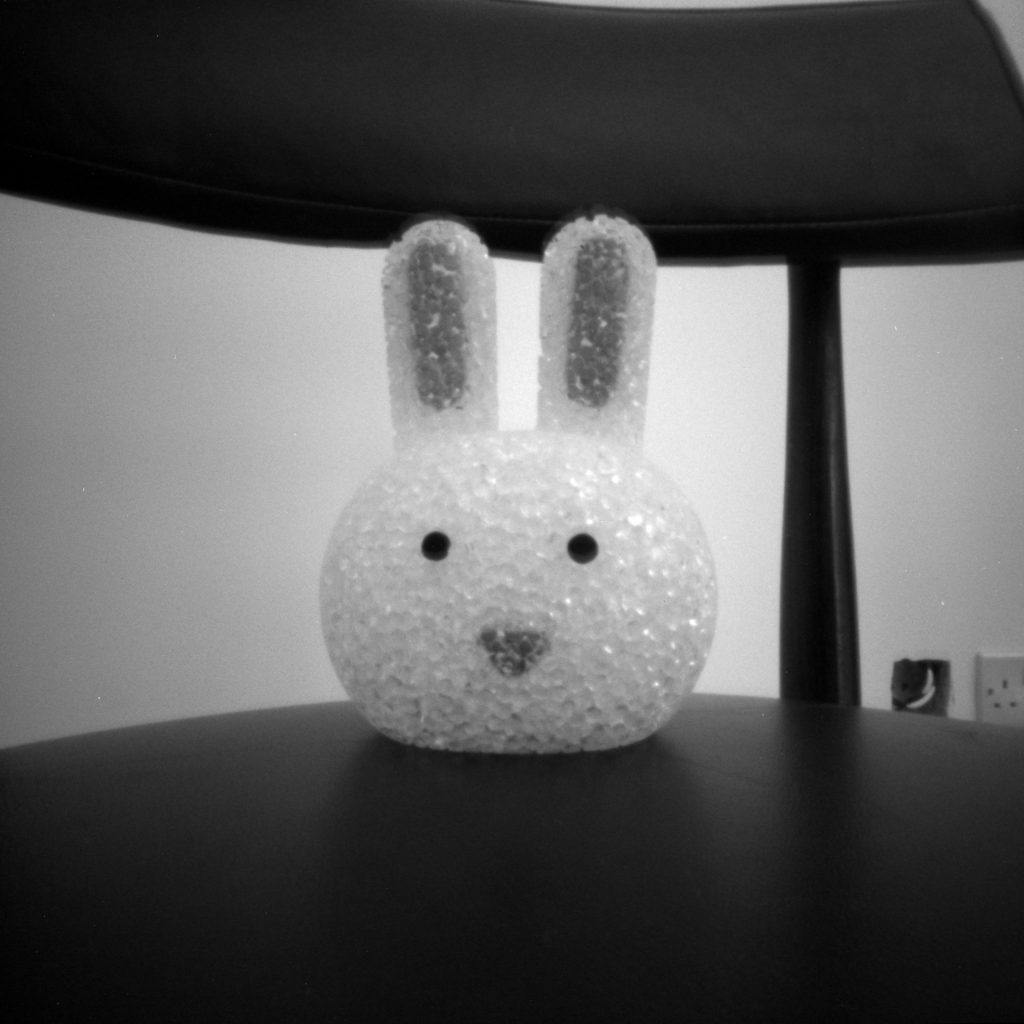
And from the ONDU Pinhole camera:


My lockdown learnings…
So, what are my lockdown learnings…
- Why didn’t I do this sooner?! I’m really amazed and happy with the results. Sure, the contrast might not be to everyone’s taste, but sometimes it’s frustrating having so much latitude in the likes of HP5+ that you can’t decide which way to take an imagine. Here, the darks are dark, lights are light and the edges are SHARP! That said, I’m still amazed at how much detail is in the negative. A skilled darkroom expert could grab detail out of those shadows and perform all sorts of magic!
- I should experiment more with film and developer combos and not be so ‘follow the box’ all the time. It was fun figuring out roughly how long I should develop the film for and it wasn’t a disaster. Maybe I should have done more or less time, hotter or colder chemicals, messed about more with agitating… I’m not sure, but the bottom line is I got usable negatives that I’m happy with!
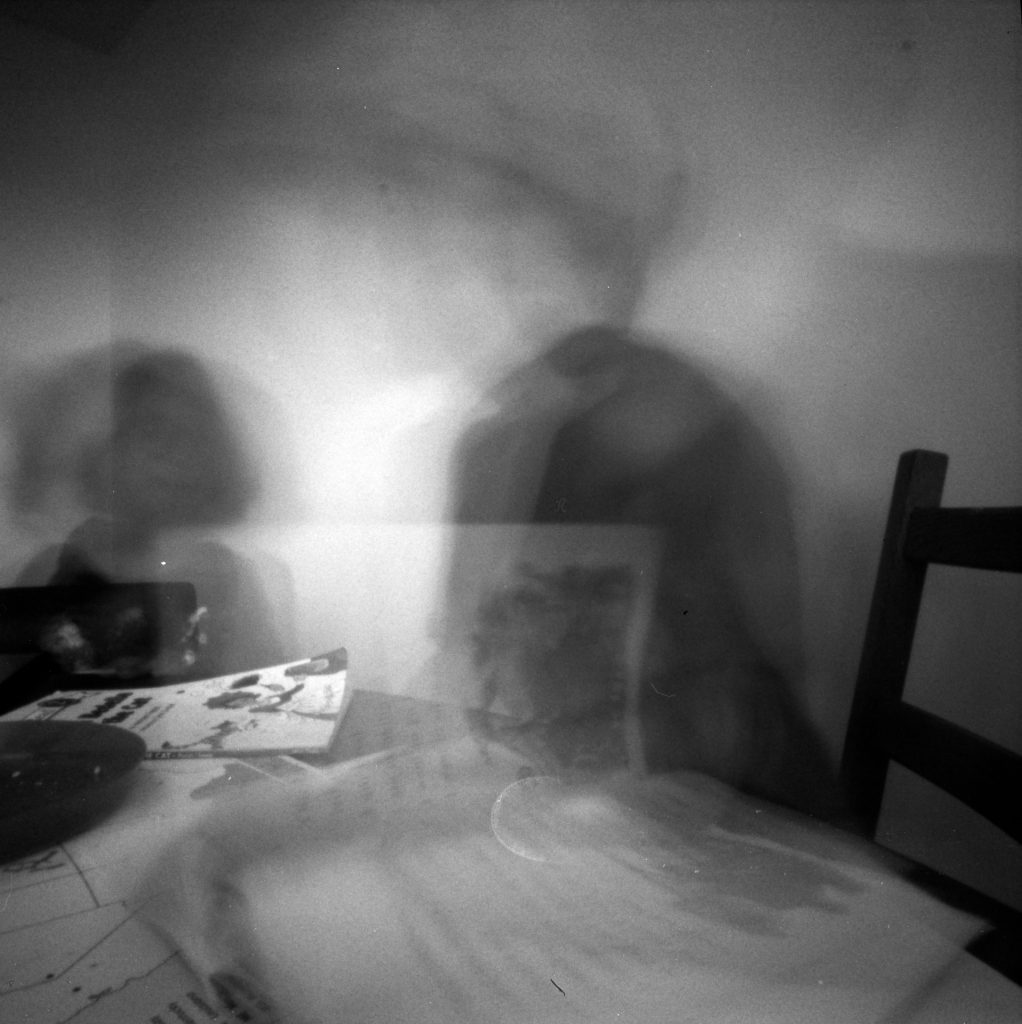
- I wish I’d put a reflector or fill card to the left of the subject just to throw a bit more light into the shadows, Especially for my little Warrier craving. I freely admit I stuffed up on the exposures here, especially of my daughter surrounded by her teddy bears… Grrrrrr.
- When using the pinhole camera even when you think you are too close – you’re not! Get closer!!!
- Don’t be so worried about packing PanF+ in the bag… we don’t need that equator sun to make it work! Just push it.
Well, if you made it this far, thanks for reading and I hope this has inspired you to experiment with pushing film. Feel free to drop me a line and do follow me via social media if you’d like to keep updated on my photography adventures.


Chris
4 Jul 2023V useful and interesting. I’would never have thought of using Pan F in the way you so successfully have!
Paula Smith
4 Jul 2023Thanks very much Chris. Yes, PanF+ is not the obvious choice but I was really pleased with the results and you remind me I must try it again!